XC Bike Pre-Race Inspection Guide
Published: 5/27/2026
Tags: XC racing, MTB maintenance, stage racing, race prep, bike setup
Start here
XC Pre-Race Bike Inspection Checklist
Work through the bike methodically and tick items off as you inspect. Use this guide when you need a little more context on any section.
Open the checklist →
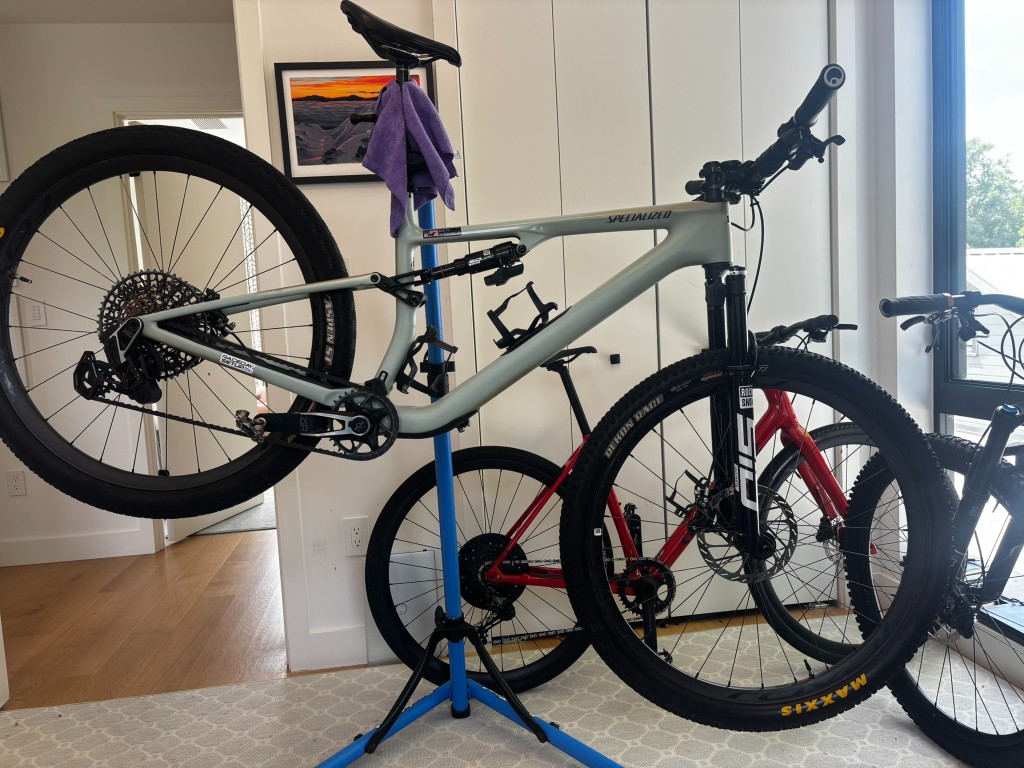
A solid pre-race bike inspection keeps small problems from becoming mental noise — or worse, race-ending mechanicals. Before an A race or multi-day XC stage race like Breck Epic or Moab Rocks, it’s worth checking the big stuff early: bearings, suspension, wheels, drivetrain, brakes, tires, and sealant.
I’ve been lucky enough to avoid major race-ending mechanicals (knocking on wood here), but I’ve also done dumb stuff like racing Leadville on completely trashed rear wheel bearings. That’s the kind of thing this guide is meant to help you avoid. You don’t have to do every job yourself — a shop that you trust is part of the equation — but you should know what to check, what matters, and when to ask for help.
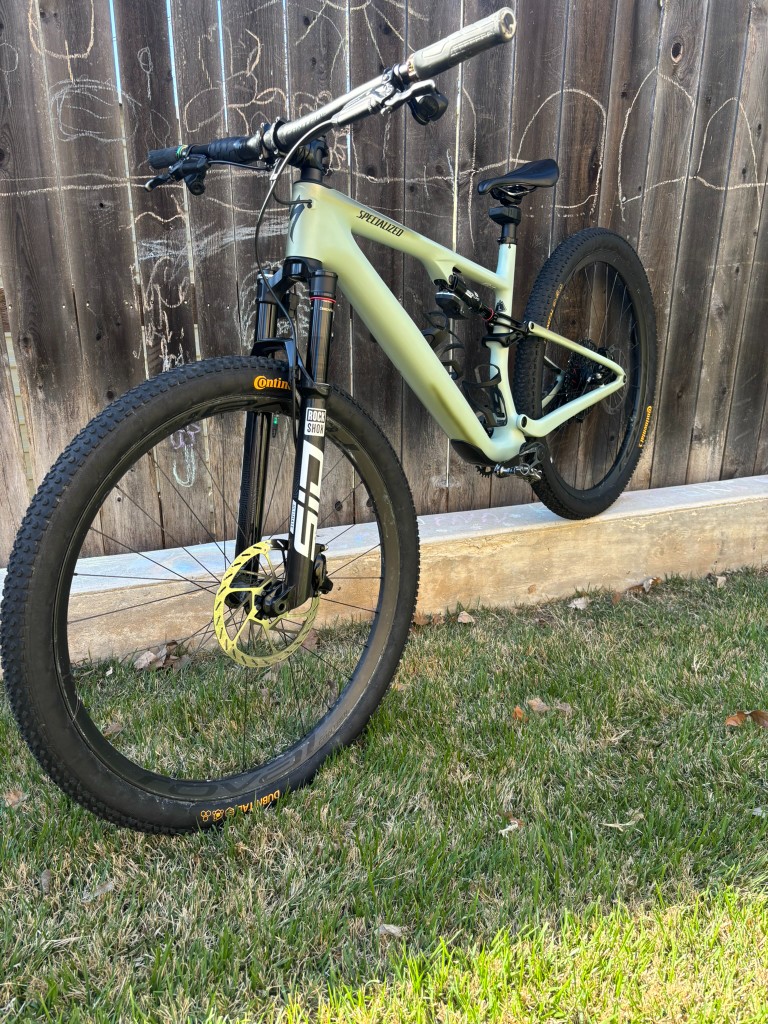
Race-Prep Timing
If you’re doing your own maintenance, you’re limited by time, tools, and how quickly parts arrive. If you’re using a shop, you’re also working around their schedule and every other rider trying to get ready for the same part of the season. Call early, ask about turnaround time, and see if they can order parts ahead of the service (think suspension service kits, bearings, etc.).
- 4+ weeks out: start the real inspection. Bearings, suspension, wheels, drivetrain, and any shop-dependent work belong here.
- 2 weeks out: ideally the big stuff is done or scheduled. You’re verifying, not discovering.
- Race week: fresh sealant, tire choice, chain if worn, brake pads if needed, bolt check, batteries, final setup — verify brake feel; No major bike projects - especially nothing that changes fit.
- Day before: don’t invent a bike project. Confirm pressures, charge batteries, check the bike over, and leave it alone.
Unless something isn’t functioning and absolutely has to be worked on, don’t touch major work the week before the race. If something goes wrong and you need a part you don’t have, that can become a very stressful problem.
For stage races, I’m more willing to replace wear items early — chains, brake pads, tires, and sealant. I’m also more likely to do a 50-hour suspension service before the event because the race itself might put 20 to 30 hours on the suspension.
Wheels & Tires
Sealant
- Pop the bead, clean out old sealant, and refill fresh before the race (I usually do this a few days before).
- Most XC racing: around 6 oz per tire. Sharp, flat-prone courses: I may go north of 8 oz (looking at you, Little Sugar).
- Doing sealant is a natural time to inspect rim tape and valves at the same time.
Tires
- No holes, sidewall cuts, or casing damage — and the tread should still be in good shape.
- Choose tires you’ve already tested, don’t experiment with new ones on race day.
- Slow leaks, old plug repairs, and knobs tearing badly are all reasons to swap before travel.
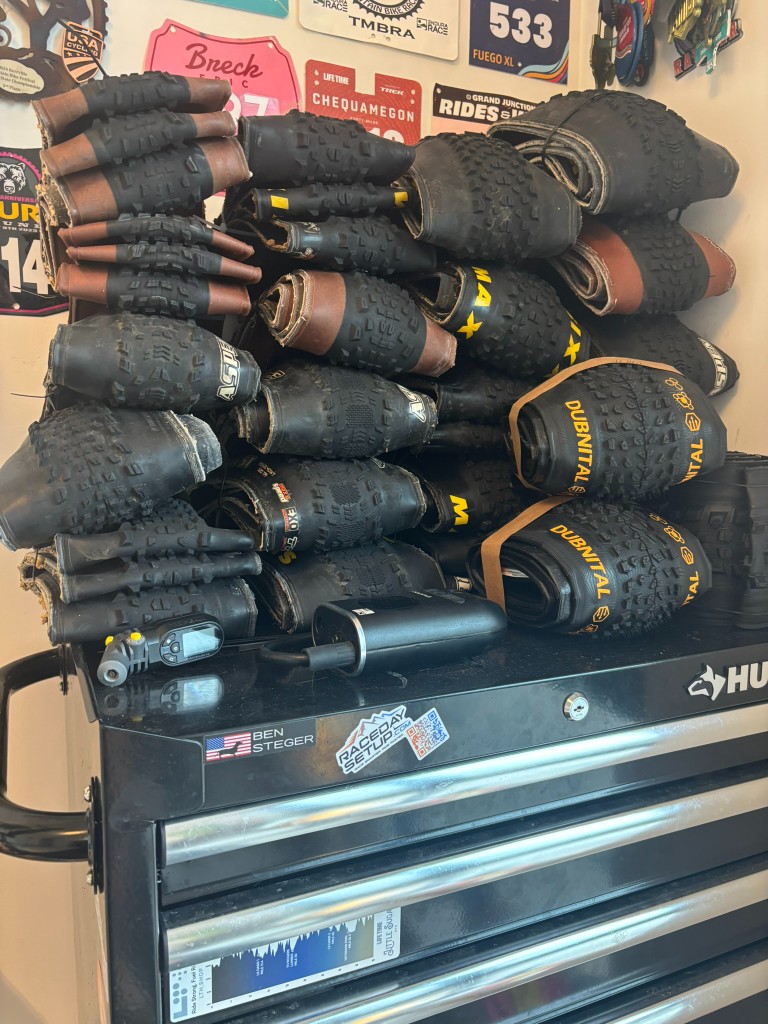
🎯 Not sure what tires to go with?
Use the RaceDaySetup Tire Selector to get personalized recommendations based on terrain, riding style, and your goals.
Try the Tire Selector →Rim tape
Always a good idea to have some extra 
- When the bead is open for a sealant refill, check for lifted edges, gaps, or tape that’s shifted.
- Bad tape often shows up as a leak at the valve stem or spokes.
Valves
- Cores and stem nuts should come apart by hand — more often than not I need a set of pliers to get them apart if they’ve sat for a few weeks. This can make putting a tube in during a race impossible.
- If air doesn’t flow freely through the valve,
replace the core ↗️ .
Spokes
- Squeeze spoke pairs and spin the wheel — don’t obsess over trueness - reasonably true is enough.
- Watch for wildly loose or damaged spokes.
- Major loss of trueness → usually a good one for the shop.
Wheel bearings
This is something to check well ahead of time - not the night before the race. If you discover rough bearings the night before with no realistic alternative, don’t panic — it probably isn’t costing you much performance. But if there’s actual play, queue up the replacement and inspect the axle/hardware afterward.
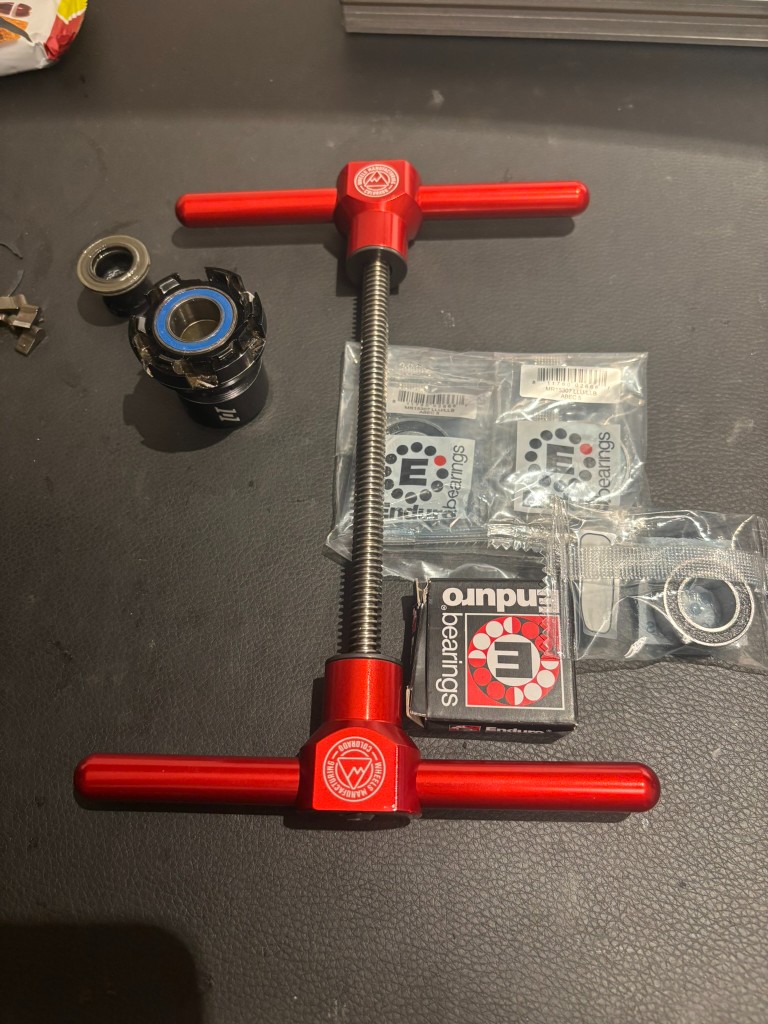
Note: If you discover significant play in the bearings your axle is likely worn out as well. Do yourself a favor and order a new hub axle (in the case of the rear hub) along with the new bearings. It’ll save you an extra round of part ordering.
- In the stand, wiggle each wheel side-to-side at the rim — if there’s any play whatsoever with the axle torqued to spec, your bearings are done and need replacing.
- If you’re replacing the rear bearings, good time to replace the freehub bearings as well.
- Spin the wheel and listen for rumble or notchy noises from the hub.
- The rear bearings usually go before the front.
- When replacing worn rear hub bearings, inspect the axle for wear. Polished witness marks are usually fine; a discernible step isn’t.
Freehub
- Engagement should feel smooth and consistent.
- If it’s been a while, freehub service is easy enough to do — remove the body, clean everything thoroughly, and use the grease and/or oil your hub maker recommends.
- Watch for creaking or slipping under load
Here’s my Industry Nine Hydra freehub service walkthrough — same general idea for most pawl hubs, though lube specs vary by brand:
Drivetrain
Chain
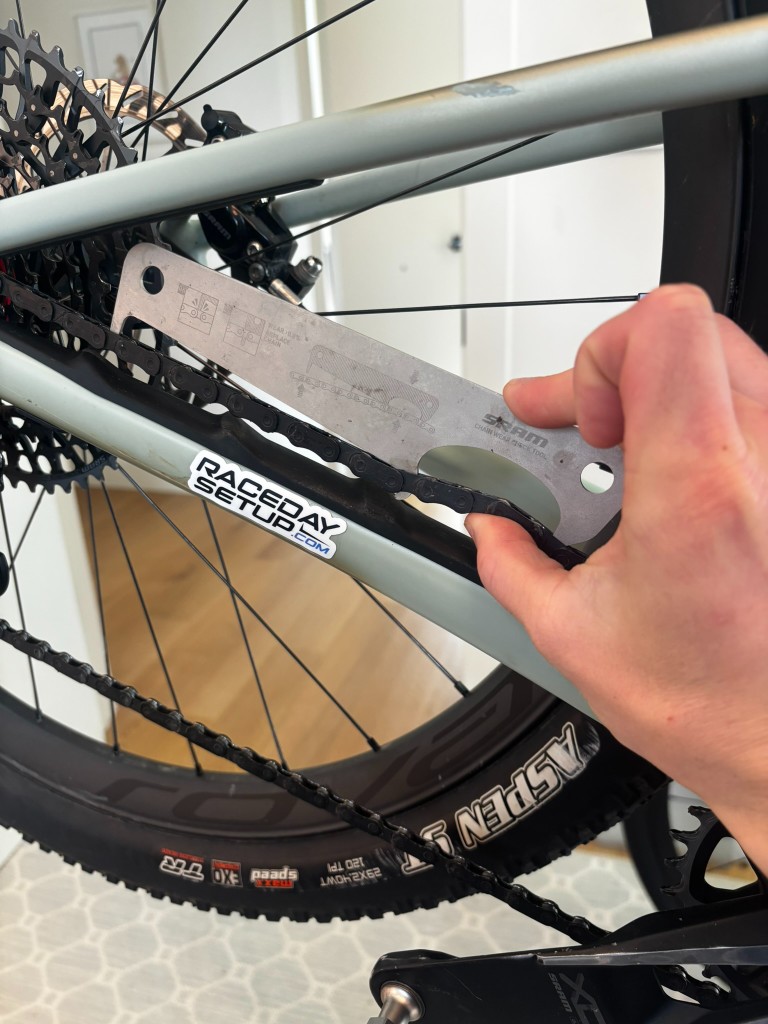
- Check wear with a
- Look for stiff or squashed links or a quick link that’s seen better days.
- A separate low-mileage race chain and training chain is a reasonable marginal gain if you’re chasing small optimizations.
- Race-day chain care: How to wax a chain with SILCA →
Derailleur pulleys
- Spin them with the chain off — they should turn reasonably well. They don’t have to freespin - just not feeling like they’re gummed up with junk.
- Take the cage apart and clean and re-lube if they’re gritty or slow.
- No obvious damage to the cage
- Clutch has plenty of resistance to it (not noticing chain slap getting worse and not experiencing dropped chains is a good sign as well)
Note: If you’re frequently dropping chains off either end of the cassette or off the front ring and you’re sure your drivetrain is set up correctly, take a hard look at the clutch and consider replacing it.
Cassette
- Skipping under load is a good clue — teeth are shaped weird on purpose, so looks alone can be pretty deceiving.
- If you have an issue, check chain wear, check the derailleur setup (i.e. setup cog process for SRAM), and possibly check microadjust for the problem gear before you consider replacing something expensive like a cassette.
Chainring
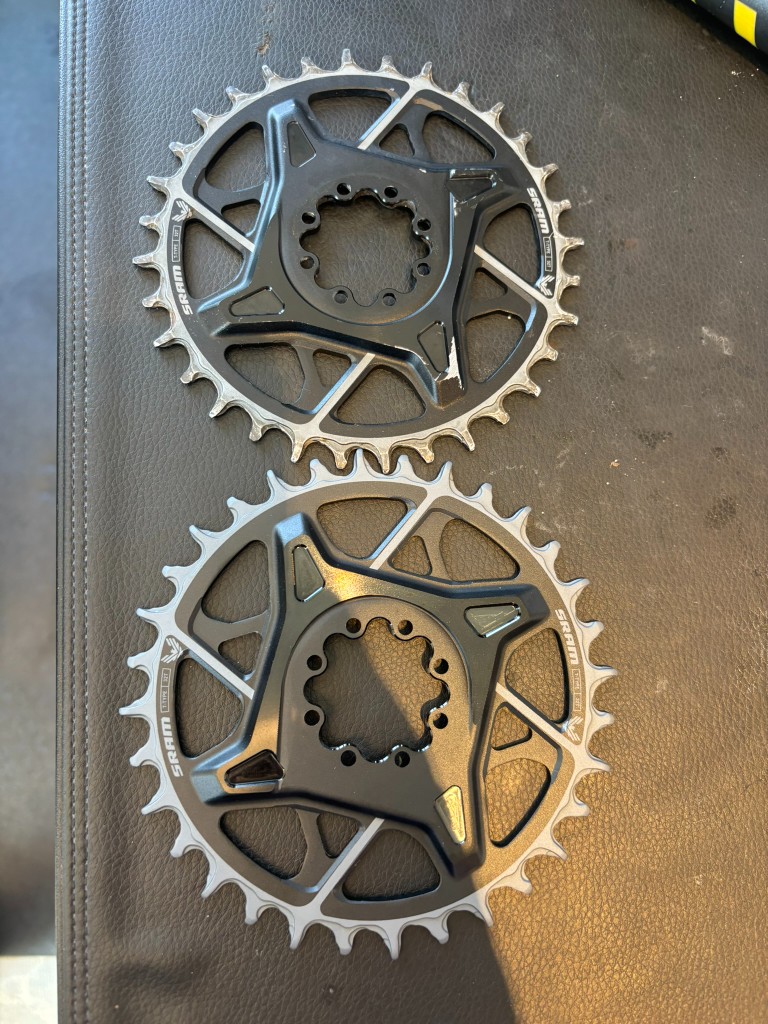
- Watch for smashed teeth from rock strikes.
- Dropped chains or worsening retention are signs it’s time.
Power meter battery
- Put a fresh disposable battery in before the event.
Pedal bearings
- Check for roughness or side-to-side play at the spindle.
- Anything that feels loose or inconsistent is nice to resolve and have you feeling more connected to the bike.
Brakes
Brake pads
- Above the manufacturer’s minimum thickness — SRAM and Shimano commonly use around 2.5 to 3 mm including the backing plate.
- If you’re at the minimum before a major race, replace and bed them in.
- Don’t squeeze the last life out of pads before a stage race with long descents.
Brake feel
- Assess whether you actually need a bleed — fresh pads and proper alignment fix a lot of problems.
- Spongy lever feel, a wandering bite point, or a drop in resistance while holding firm lever pressure can point to air or a leak in the system.
- If you’re not comfortable bleeding brakes, reserve some time with the shop.
Rotors
- Check thickness against the rotor minimum; Rotors with deep grooves will chew through new pads quickly.
- True them if there’s a bad wobble; replace if they’re near minimum spec, especially before multi-day events.
Cockpit
Grips
- Not worn or torn at the ends — exposed bar is a safety issue in a crash.
- Enough grip material left that you’re comfortable with how your hands will feel toward the end of a long day.
Handlebars
- On carbon bars, inspect the stem clamp and lever clamp areas for scoring, crash damage, or controls that rotated hard enough to gouge the bar.
- Replace the bar if lever clamp scoring is deep. You don’t want to snap a bar on a hard landing.
- Clean clamp surfaces, use carbon assembly paste where appropriate, and torque to spec.
Headset
- Clean thoroughly, regrease, and set correct preload if the steerer feels gritty.
- See Headset bearings under Frameset if there’s actual play in the bearing.
Cables
- On mechanical setups: shifting and dropper feel should be crisp.
- Watch for frayed cables and worn ferrules where housing enters the frame.
- If feel has been getting worse gradually, fix it before race week.
Saddle
- Padding isn’t noticeably worn out.
- Rails are clamped tight — no creak or slip.
- Usually just cleaning, grease where appropriate, and torque to spec.
GPS / bike computer
- Check that the mount is solid. If you’re using rubber bands - make sure those aren’t splitting and about to break.
Shifter coin cells
- Fresh cells in pods before travel.
Frameset
Pivot bearings
- Remove the rear wheel, hold the seat tube, and wiggle the rear triangle side-to-side — any play should be investigated.
- Also watch for dull clunks, rough movement, or rust weeping from pivot hardware.
- Related: How to Replace Pivot Bearings on a Specialized Epic 8
Headset bearings
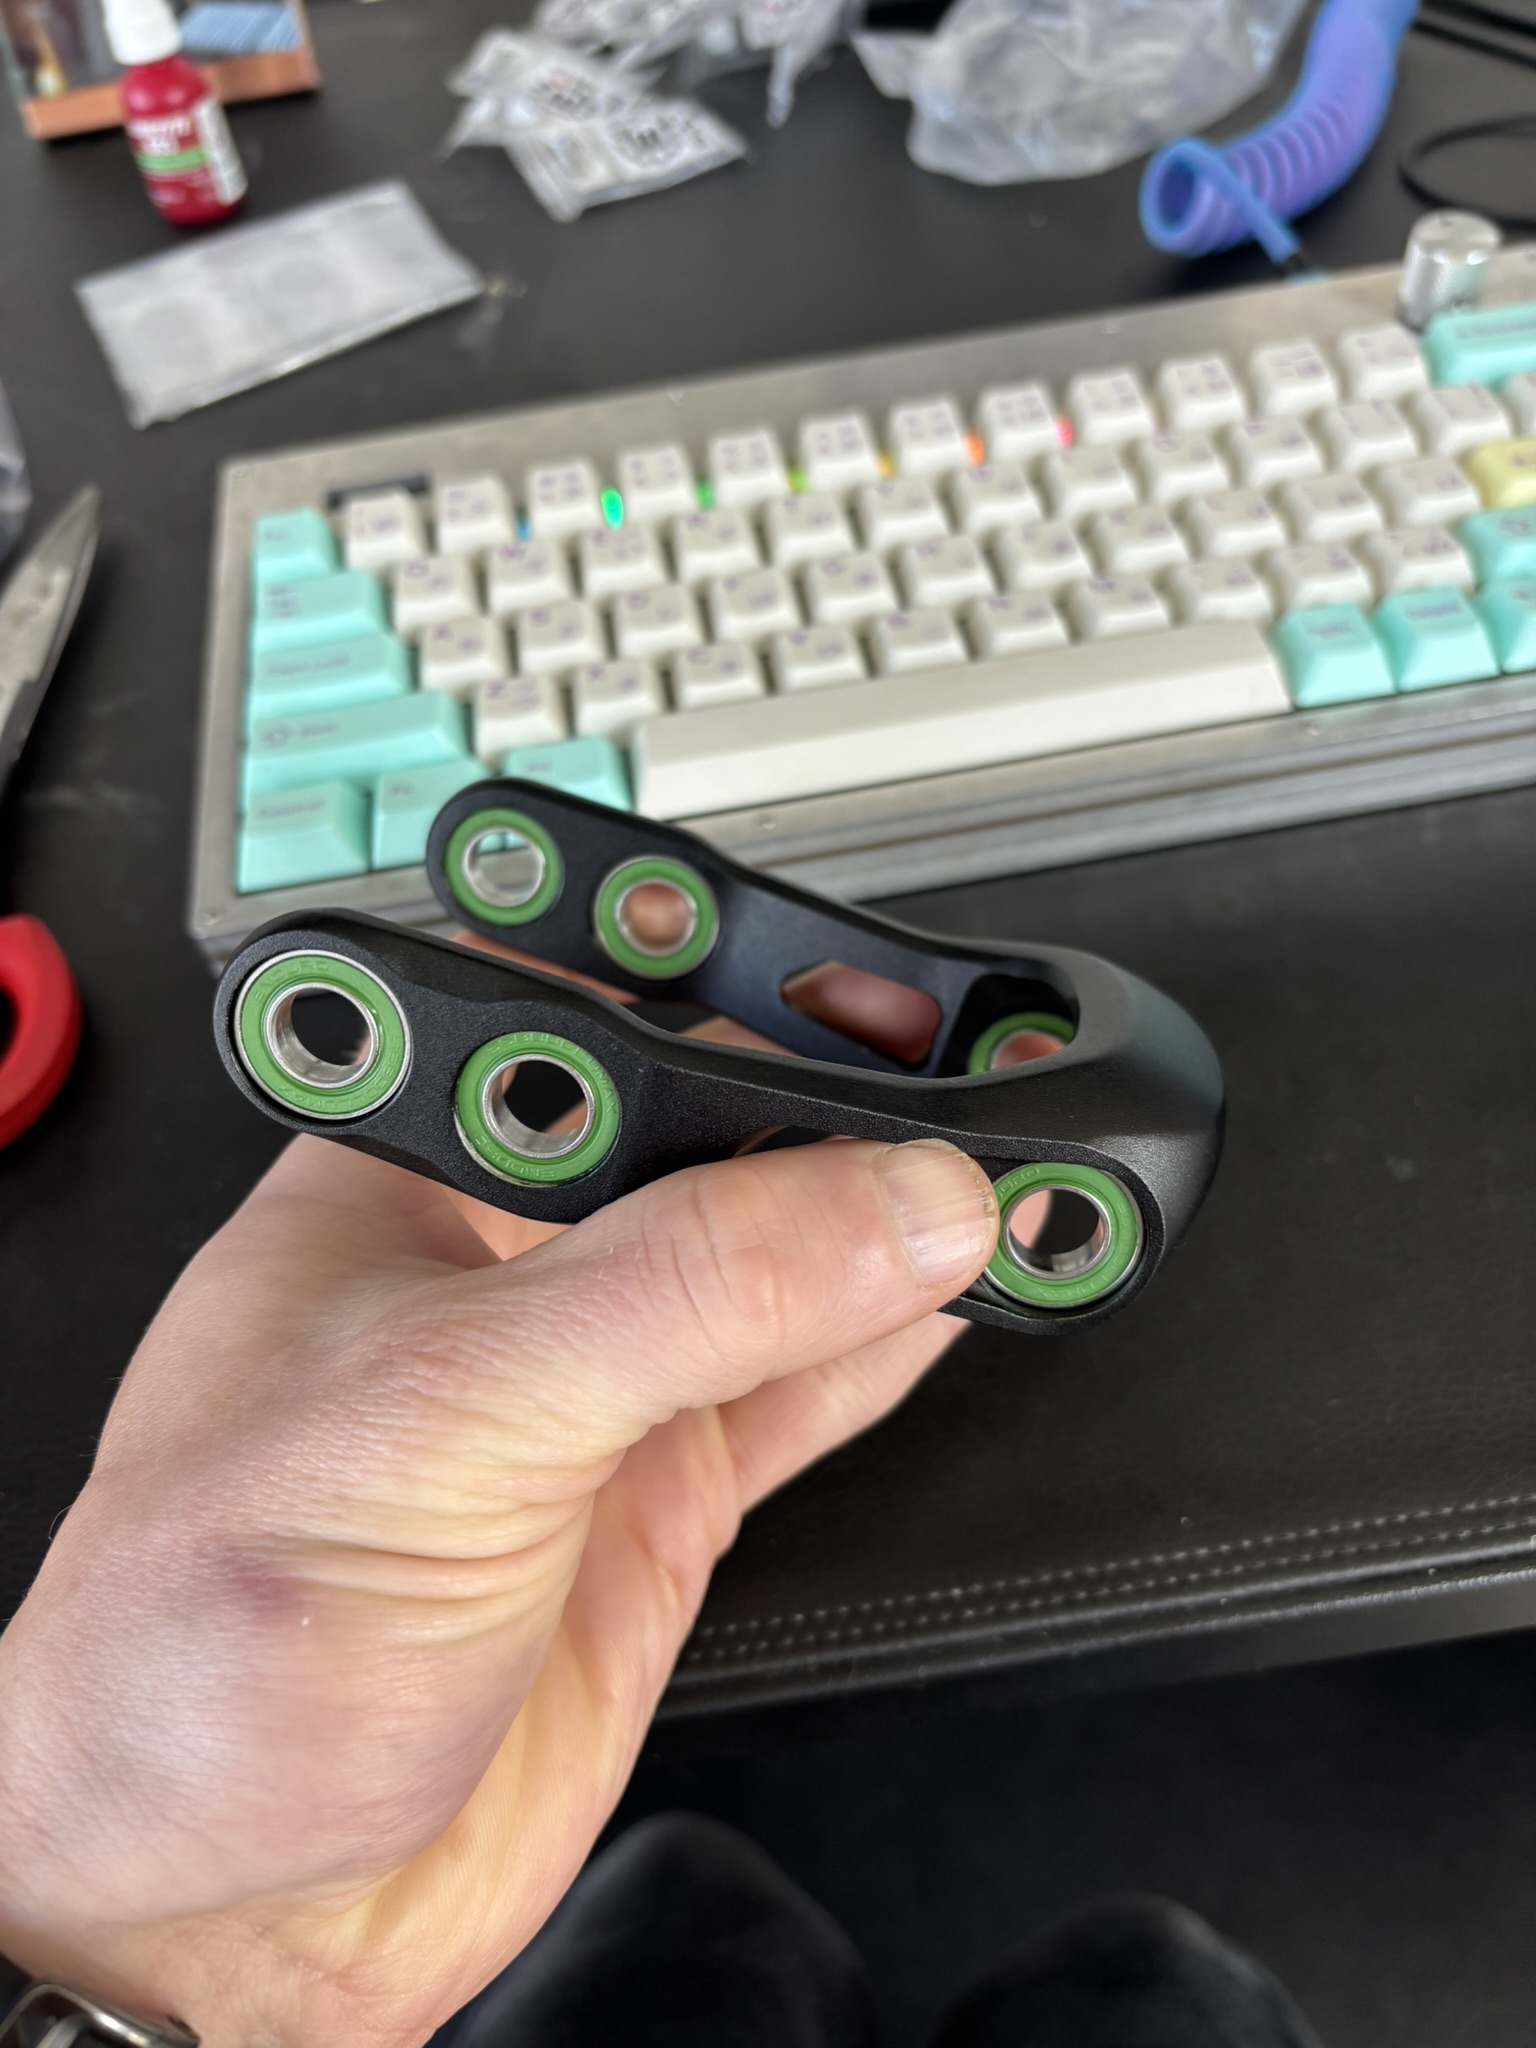
- To check for play in the headset bearings - hold the front brake and rock the bike back and forth; Be careful not confuse suspension movement for headset play.
- If you can feel play in the bearings, replace them. Stainless replacements are worth considering.
Bottom bracket
- Chain off, spin the cranks — listen for rumble / notchy noises.
- Grab both crank arms and check for side-to-side play.
- Play can mean worn bearings, wrong spacers, or preload that wasn’t set correctly.
Note: You can spend anywhere from less than $40 to almost $500 for a new bottom bracket. Me personally, I just get the regular-old SRAM BSA bottom brackets. Sometimes they last a long time, sometimes they wear out pretty quickly but they don’t hurt your wallet.
Bolt check
- Stem, bar, pivots, axles, derailleur, brake calipers, seatpost clamp — major components that should be torqued to spec.
- Race week is a normal time for this; If you find a loose pivot bolt, it could be time for a harder look at the pivot bearings.
Suspension
- Before a major race, verify fork and shock hold air, dampers work, rebound works, sag is correct.
- Check pressure before race week, then again at race elevation.
Fork 200hr service
- Deeper damper-level service — within or reasonably close to interval before a race.
- I leave the 200-hour fork service to a shop.
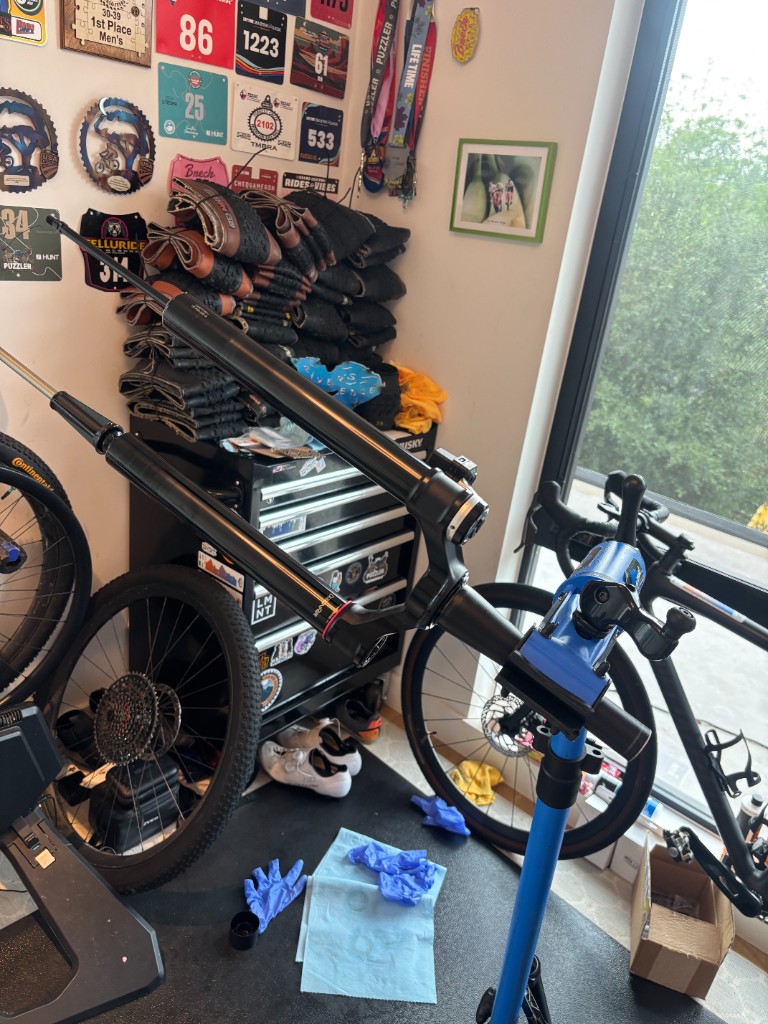
Fork 50hr service
- Lower leg service — within or reasonably close to interval.
- I do 50-hour fork services myself. For stage races, the event itself might add 20 to 30 hours so I take that into account when deciding it’s time to service.
Shock 200hr service
- Deeper damper-level service — shop job for me, same timing as the fork.
Shock 50hr service
- Air can service — within or reasonably close to interval before a stage race.
- This is one I do myself as well. Unlike the SID fork 50hr, there’s a kit for the SidLuxe shock 50hr service that involves replacing all the air can seals and spacers.
Dropper post
- Should return reliably and top out consistently.
- If the stanchion is sticky: microfiber clean, tiny dab of Slick Honey or SRAM Butter, cycle ~10 times, wipe thoroughly.
- Consider a service if the post is still misbehaving.
Race-Prep Tools and Spares
This is the stuff I like having around so normal wear items don’t become emergencies. At minimum, every serious XC racer should own a torque wrench, grease, chain pliers, a chain checker, a floor pump, and a way to seat tubeless tires.
Home race-prep kit
-
 Digital torque wrench ↗️
 -
-
-
-
-
-
-
-
Tubeless supplies
Drivetrain and brakes
-
-
-
-
-
-
-
Batteries
What Not to Do During Race Week
Race week is for verification, not invention. Avoid these unless something is actually broken:
- major bearing jobs
- suspension experiments / servicing
- major drivetrain changes without time to test
- new, unfamiliar tires
- last-minute cockpit changes
- new saddle or different grips without testing
Fresh sealant, fresh pads, a worn chain replacement, and a bolt check are normal race-week tasks. Don’t direct your pre-race energy at a bike project.
Run through the interactive inspection checklist →
FAQ
How far before a big mountain bike race should I inspect my bike?
For major work, start at least four weeks out if you can. Bearings, suspension service, drivetrain, wheel work, and shop-dependent jobs can all require parts or scheduling time. Race week should be for verification, not major projects unless something is critically broken.
Should I take my bike to a shop for inspection before a stage race?
Short answer: YES! A good LBS relationship is a great one to have. The key is taking it in early enough that they have time to order parts and do the work. That being said, diagnosing and fixing most problems yourself is a great skill to have and also positions you better to handle mid-race mechanicals.
Should I start a big race with fresh sealant?
Yes. For important races, it's smart to pop the bead, clean out old sealant, inspect the rim tape, make sure the valve hardware can be removed by hand, and refill with plenty of fresh sealant.
Keep Reading
- Stage Race Packing List
- RaceDaySetup Tire Selector
- Epic 8 Pivot Bearing Replacement
- How to Wax a Chain with SILCA
Gear You Might Like
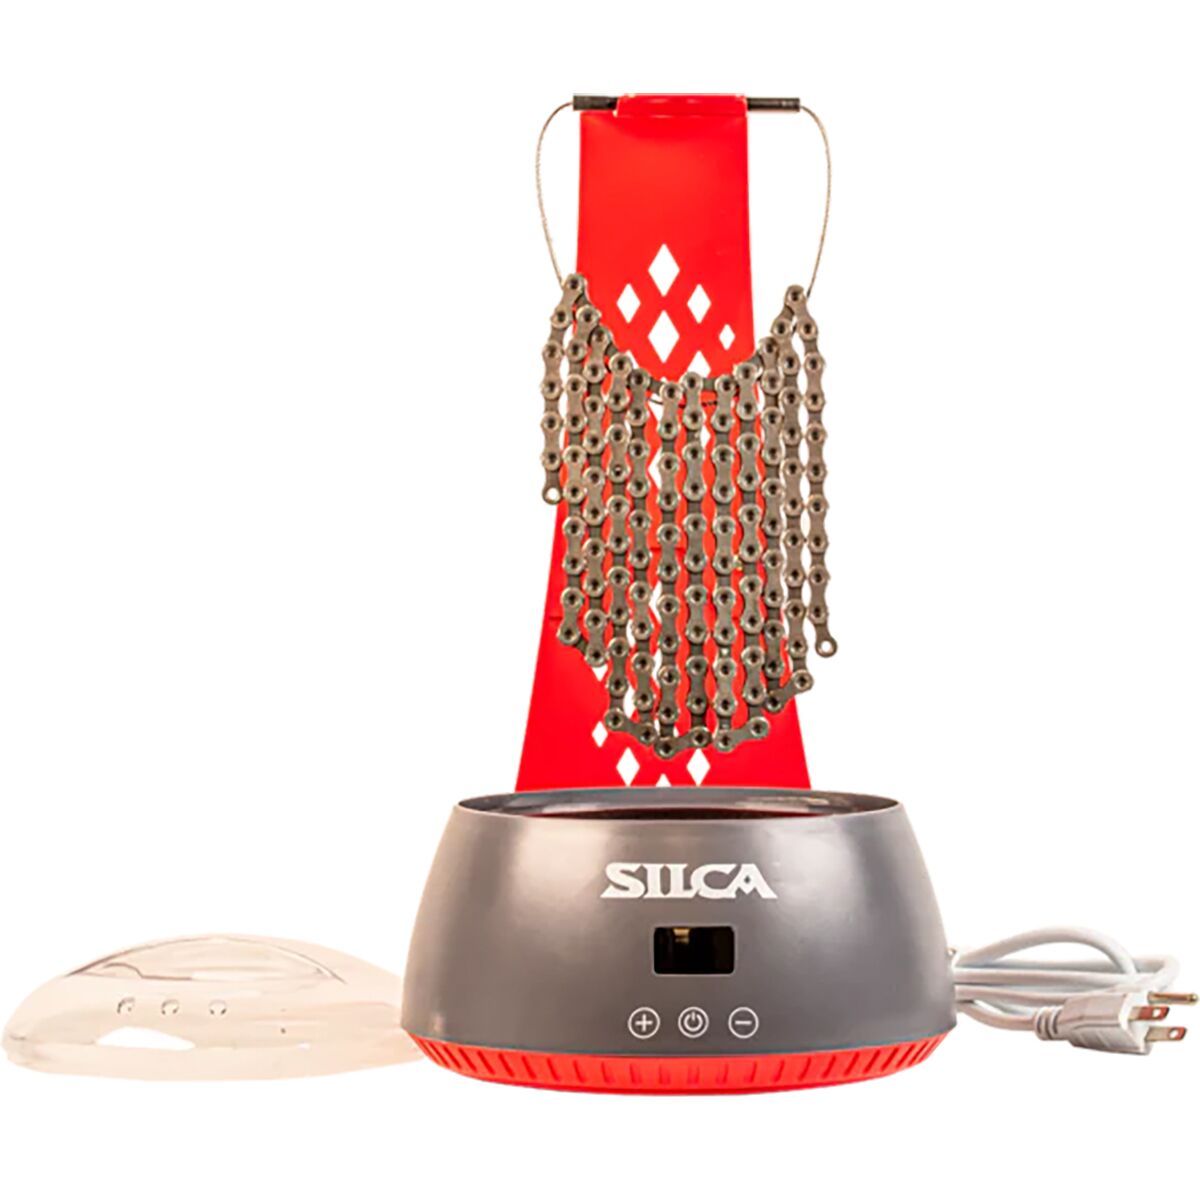
Silca Chain Waxing System
Efficient wax heating pot for dipping chains in hot melt wax.
Read the review →
Skratch Super High-Carb Mix
My main fueling source for training and racing. Delivers 100g carbs per bottle, no stomach issues, and pairs great with PH 1500 tablets.
Read the review →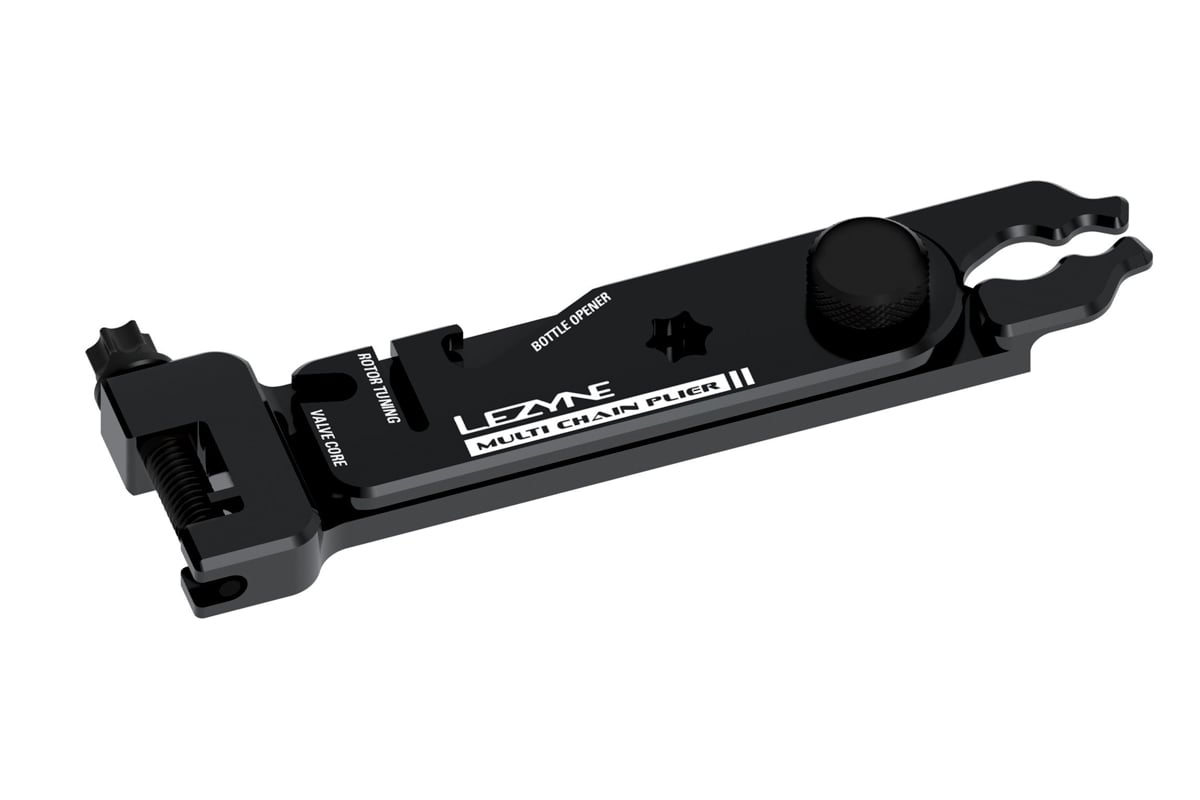
Lezyne Multi Chain Pliers
Compact, bombproof multi-tool with chain breaker, quick link storage, and more.
Read the review →