How to Flip the Flip Chip on a Specialized Epic 8
Published: 5/31/2025
Tags: Epic 8, flip chip, bike setup, geometry, suspension, maintenance, RockShox
TL;DR — Flip Chip Quick Facts
- High: +5mm BB, +0.5° HTA — better for XC, fewer pedal strikes
- Low: −5mm BB, slacker HTA — better for descending stability
- Torque: Front bolt 6 Nm, Rear bolt 20 Nm
- Time: ~10-15 minutes, Easy
Tools You’ll Need
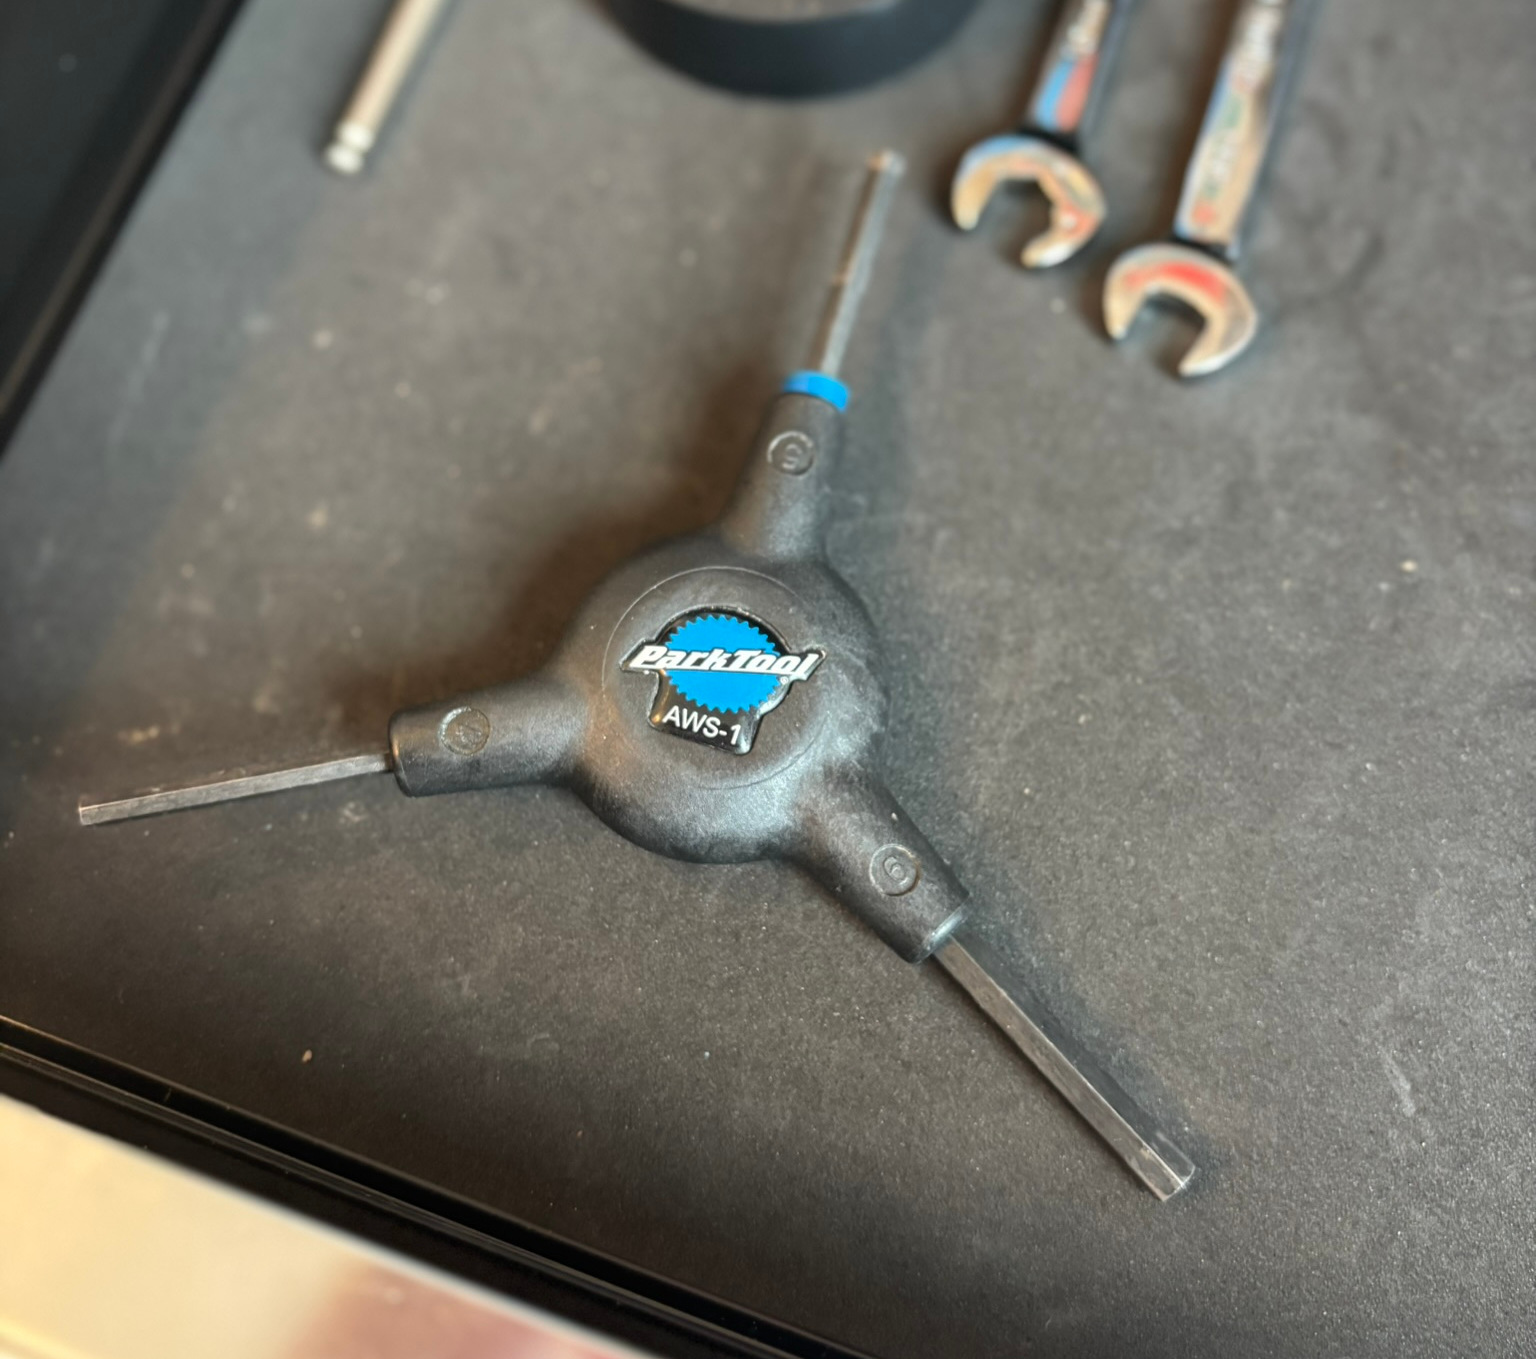
Park Tool AWS-1 3-Way Hex Wrench
Classic 3-way tool with 4mm, 5mm, and 6mm hex heads—perfect for quick adjustments and daily use.
 Buy Now
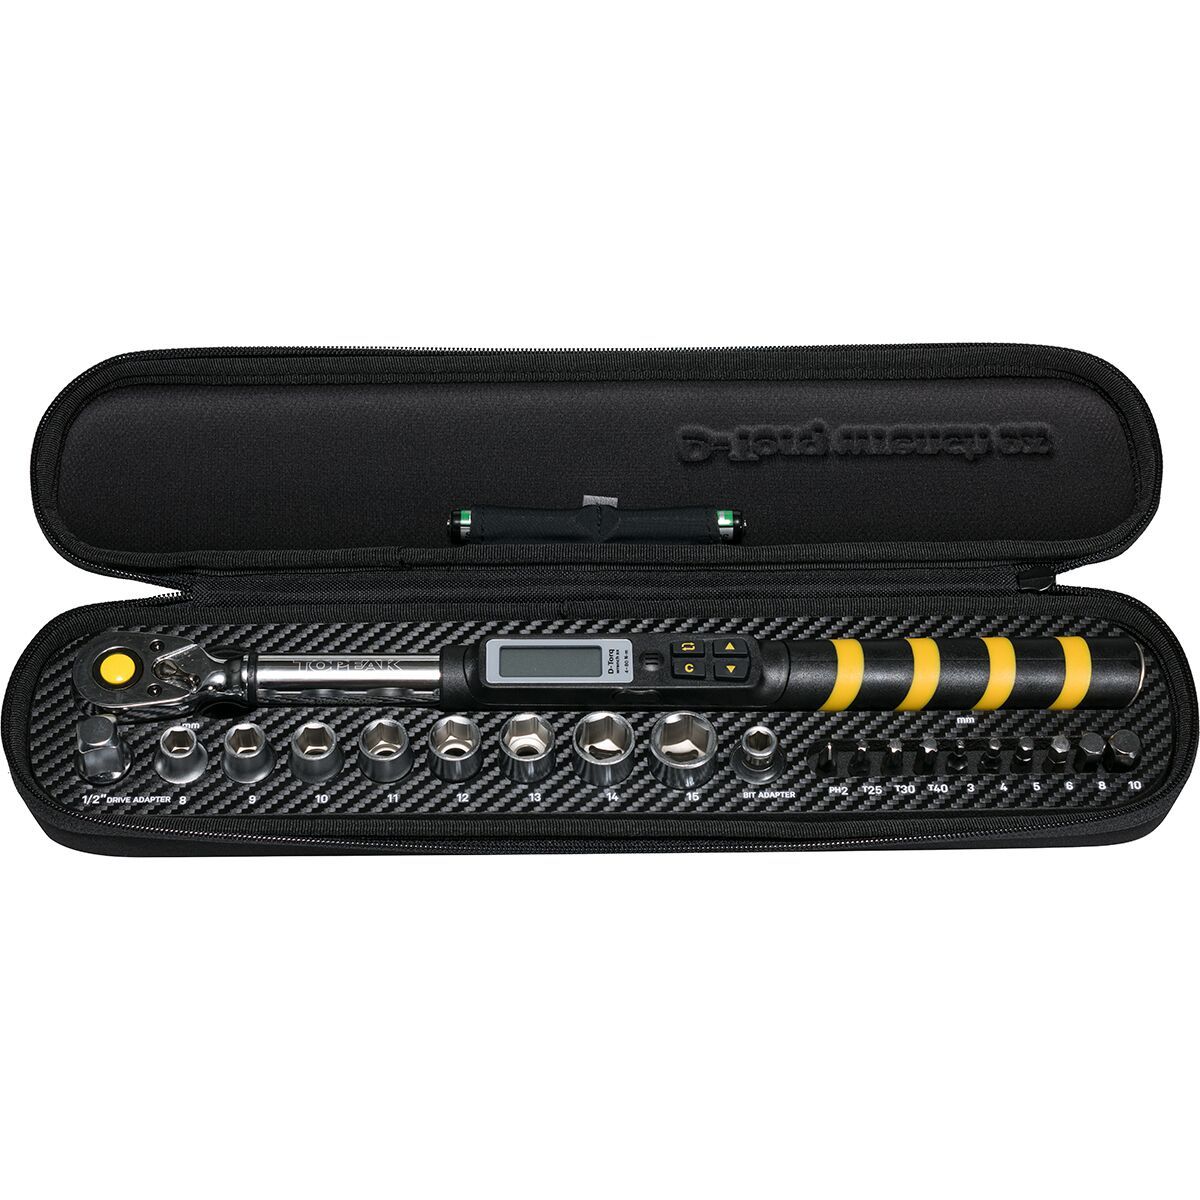
Topeak Digital Torque Wrench
Accurate, reliable digital torque wrench for precise bike maintenance.

Microfiber Cloth
The simplest and safest way to clean your frame, fork, and components without scratching or streaking.
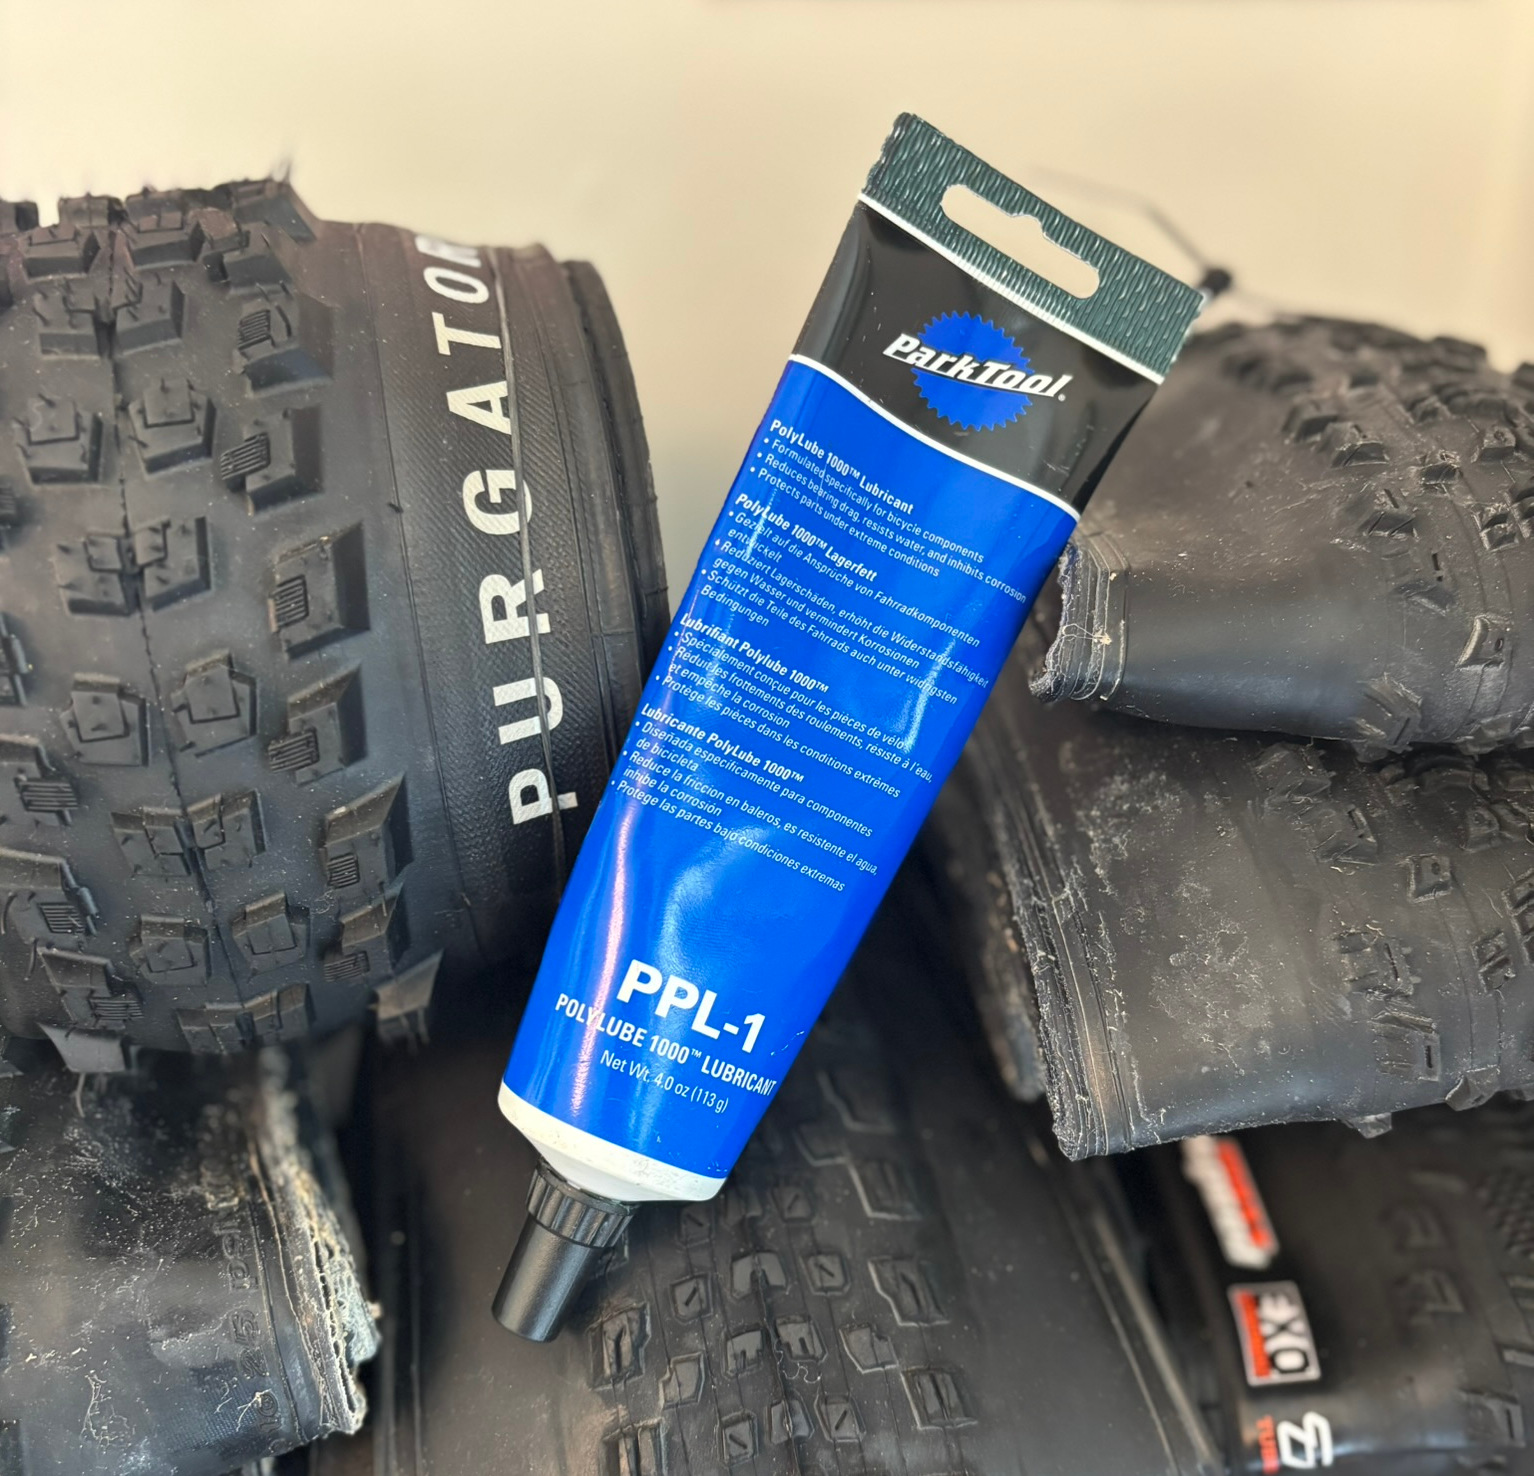
Park Tool PolyLube 1000 Grease
Reliable general-purpose bike grease for everything from bottom brackets to bolts.
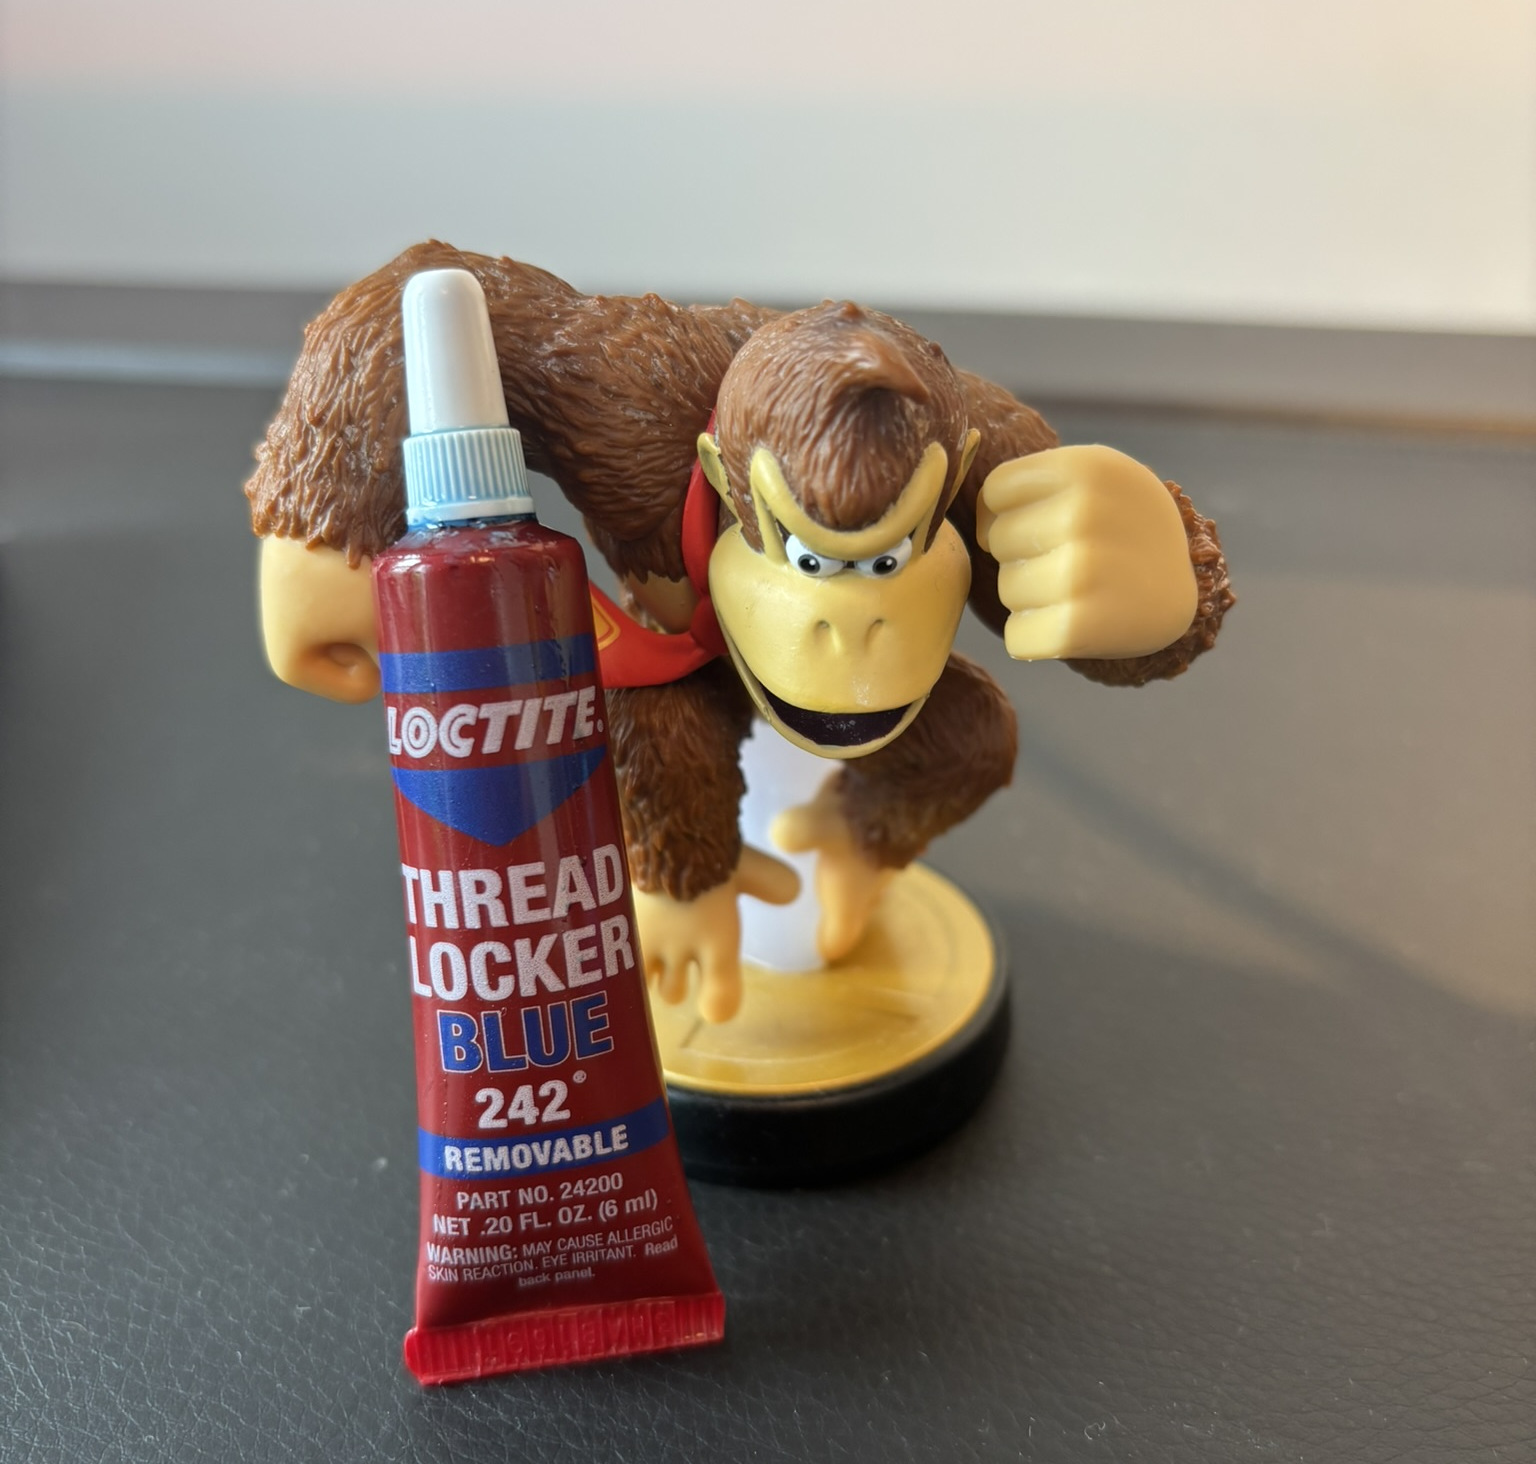
Loctite Threadlocker Blue 242
Medium-strength threadlocker that keeps bolts from loosening without making them impossible to remove.
Why Flip the Chip?
The Epic 8 and Epic 8 EVO come with different geometry out of the box:
- Epic 8: Ships with the flip chip in the high position.
- Epic 8 EVO: Ships in the low position.
Specialized says that switching from low to high:
- Raises the bottom bracket by 5mm
- Steepens the head tube angle by 0.5°
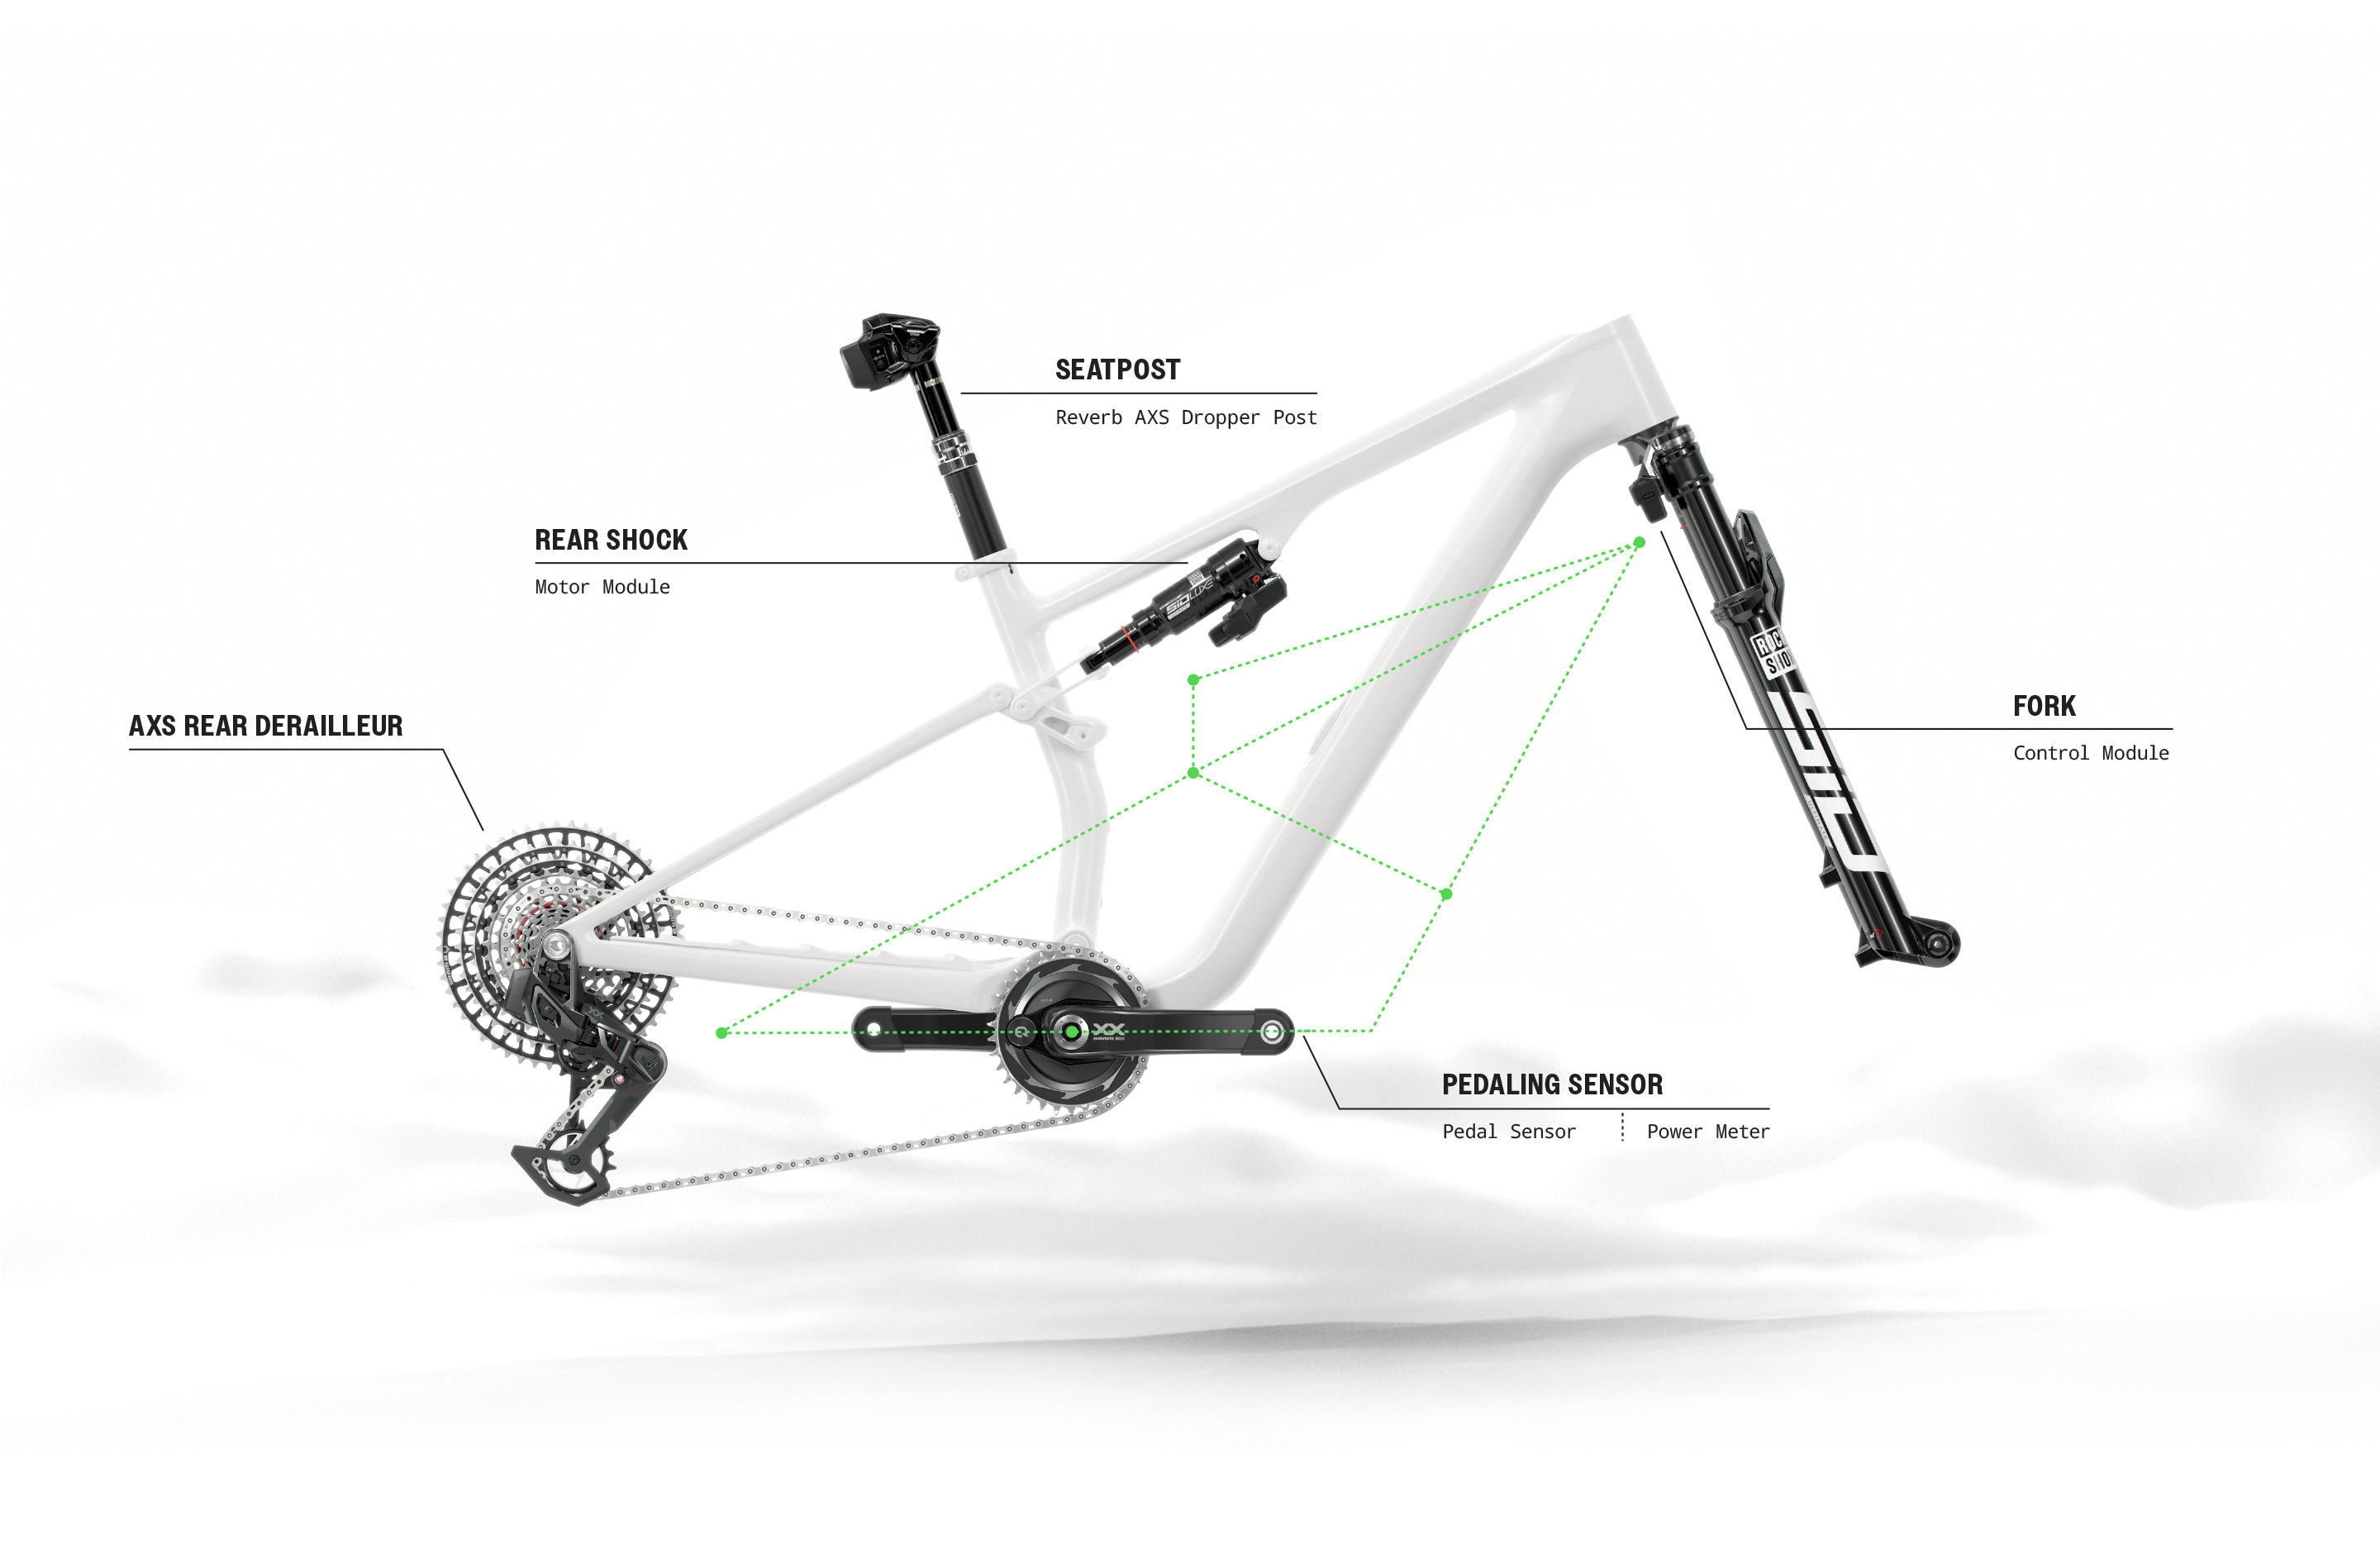
I run my Epic 8 EVO in the high position after installing 120/120mm RockShox Flight Attendant to keep pedal strikes down, increase efficiency, and improve handling on tight, punchy courses.
Step 1: Remove the Shock
Get the bike into a stand and remove the rear wheel so there’s no weight on the rear triangle.
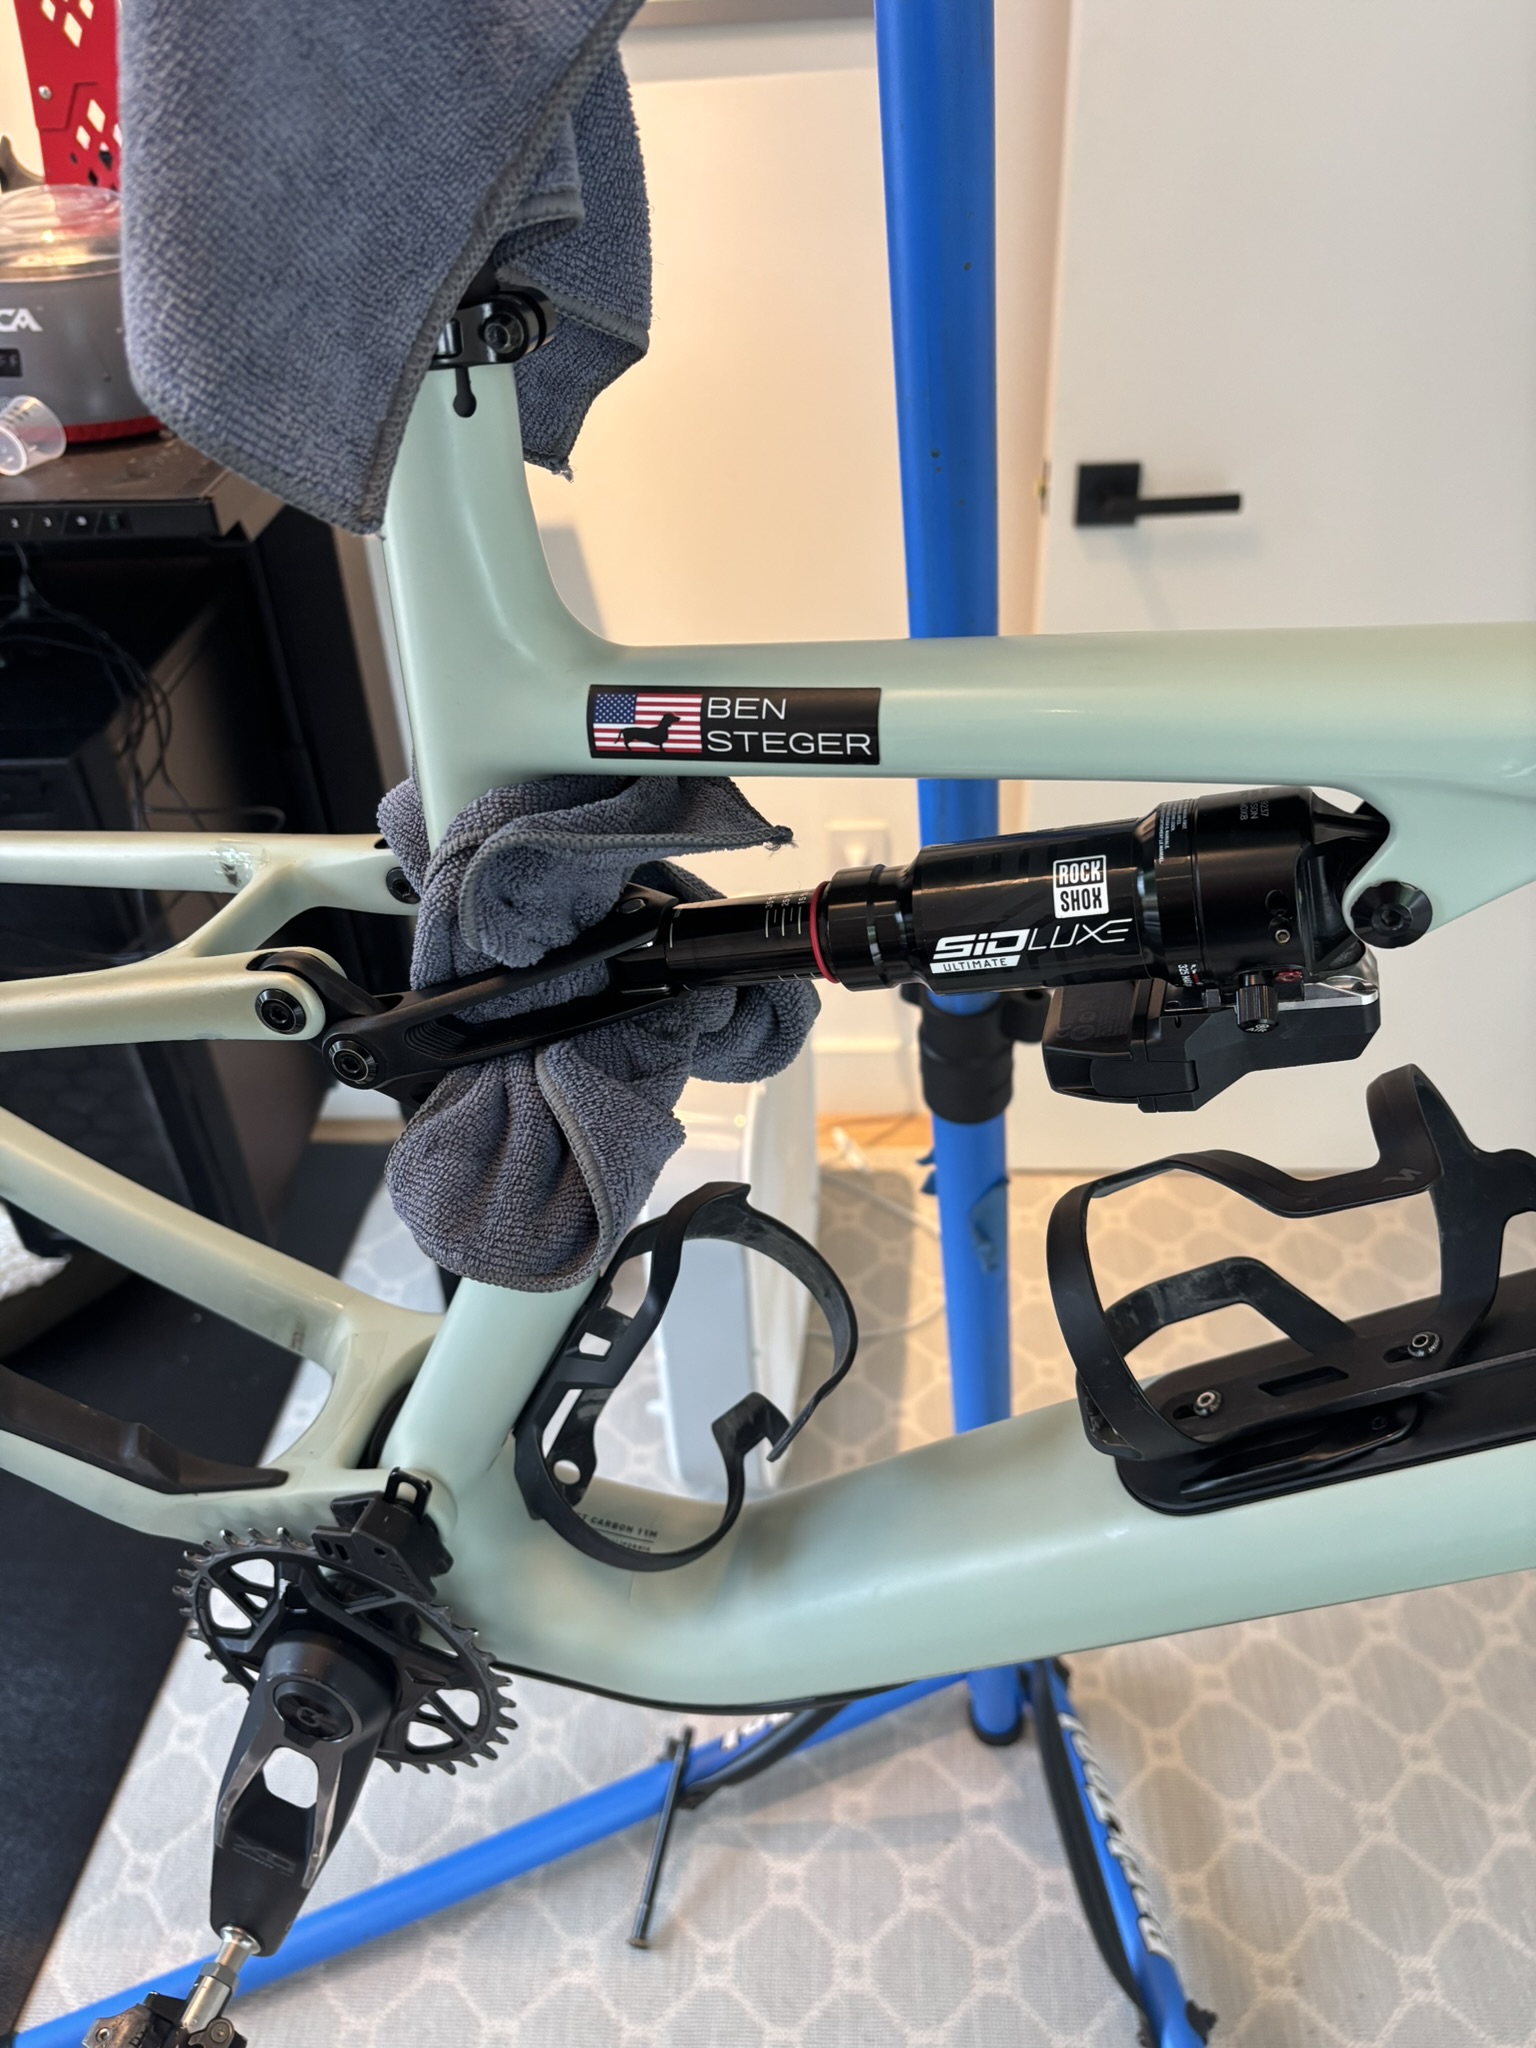
I like to tuck a microfiber towel behind the shock extension to protect the frame while working.
Loosen and remove:
- Front shock mounting bolt
- 4mm hex
- Torque: 6 Nm
- Rear shock mounting bolt
- 6mm hex
- Torque: 20 Nm
⚠️ Carefully track the washers:
- Front mount: 2 washers per side
- Rear mount: 1 washer on drive side
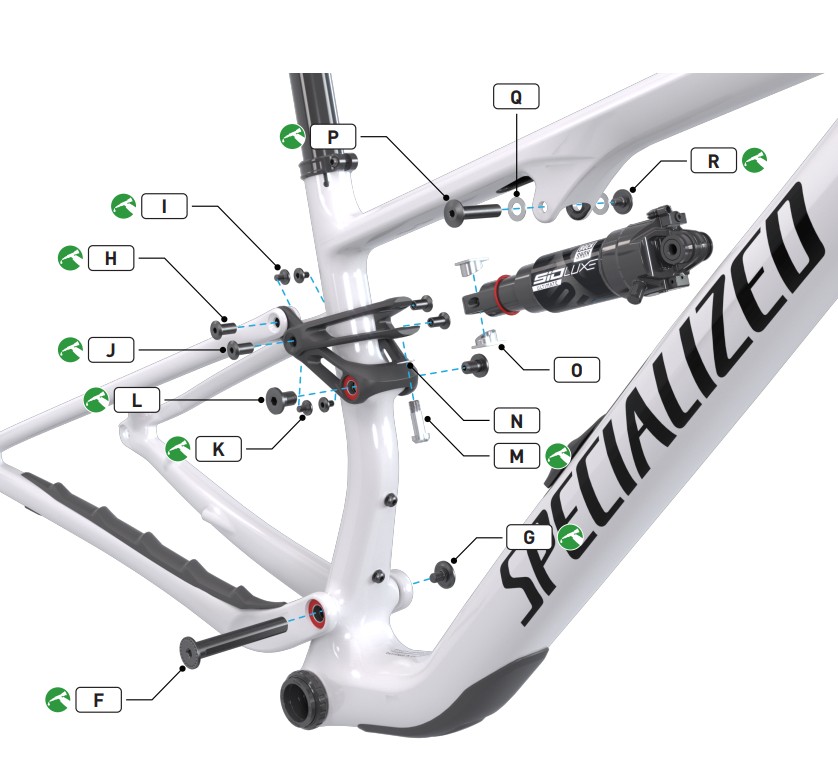
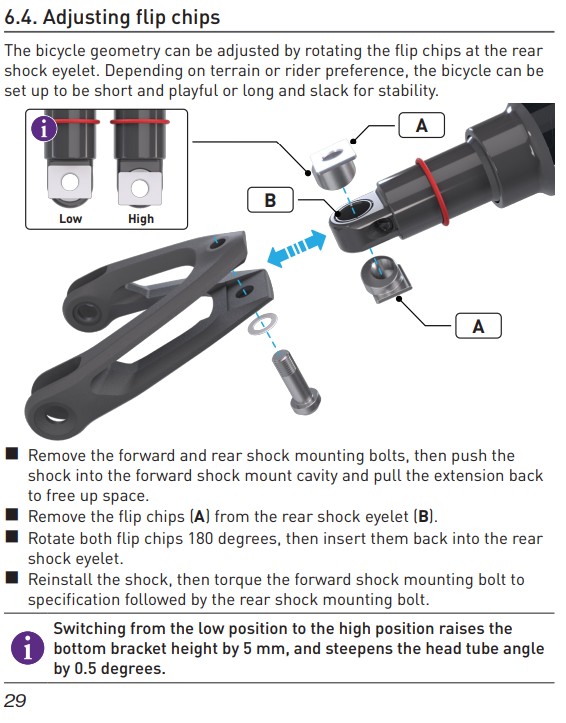
Step 2: Flip the Chip
Once the shock is off, you’ll see the flip chip insert at the bottom of the shock yoke.
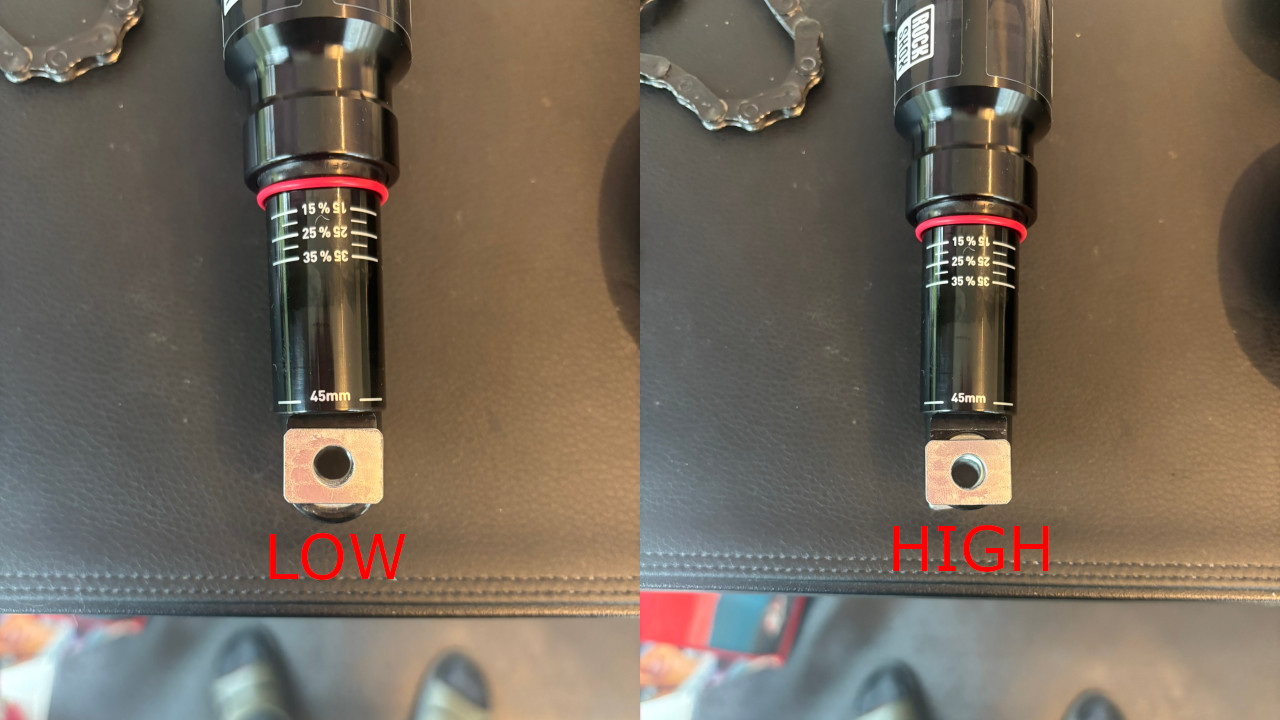
High vs. Low position. It’s a simple rotation of the chip.
Rotate the chip 180° to change the position:
- Low → High: Raises BB, steepens head angle
- High → Low: Lowers BB, slackens front end
Make sure the chip is fully seated before reinstalling the shock.
Step 3: Clean, Grease & Reinstall
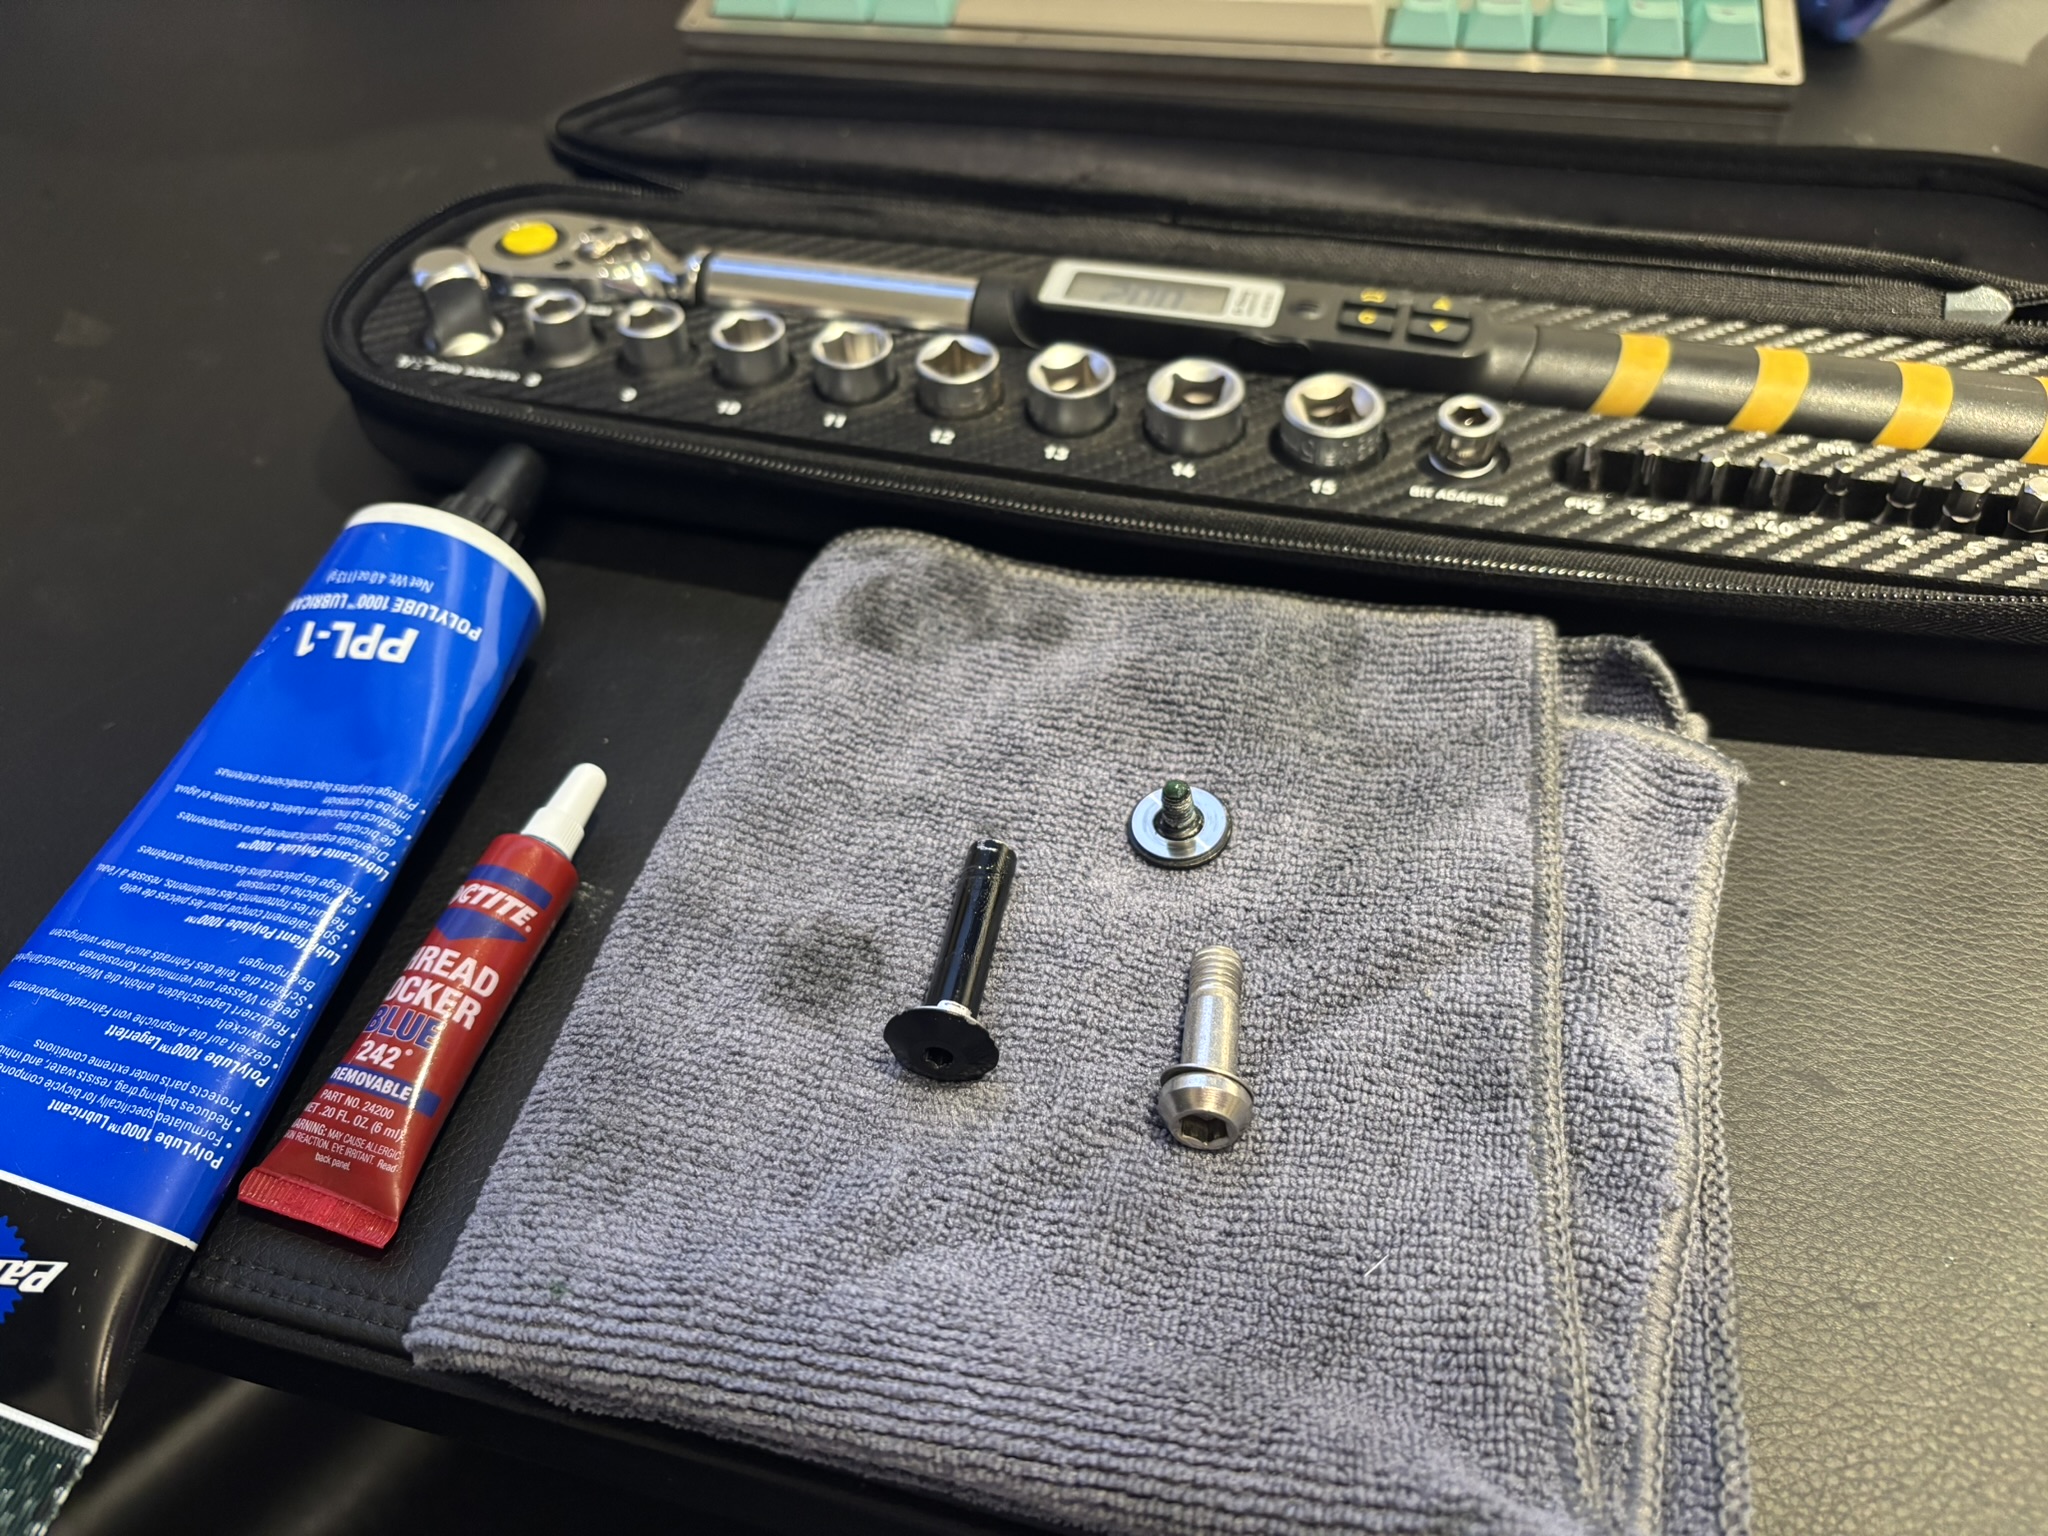
Clean the axle and threads with a microfiber towel.
Before reinstalling:
- Clean the front shock mounting axle
- Reapply high-quality grease to:
- Front axle
- Interface between front bolt head and axle
- Rear bolt’s non-threaded shaft
- Apply a drop of Loctite to the front bolt
Then reinstall the bolts:
- Front bolt (4mm): 6 Nm
- Rear bolt (6mm): 20 Nm
Double check torque and washer placement before riding.
🔁 When to Flip?
I might swap positions depending on race terrain - but…I mostly just leave things in high 🚀:
- High: Tight, technical XC or rocky courses where pedal strikes are a concern
- Low: Fast, open descents or bike park days
Keep Reading
Epic 8 vs Epic 8 EVO: Which setup is right for you?
RockShox Flight Attendant Review
Downtube (SWAT) Storage Guide
📝 Reference
Here’s the relevant section from the Specialized manual:
Screenshot from the official Specialized service manual.
View the full Epic 8 EVO manual →
Related Gear
RockShox Flight Attendant
Electronically adaptive suspension SID ULTIMATE - fork / SIDLuxe ULTIMATE shock.
Read the review → Topeak Digital Torque Wrench
Accurate, reliable digital torque wrench for precise bike maintenance.
Read the review →